Add a product
Create a product with a name, price, description, and images — by hand or with AI in seconds.
Adding a product is how you start filling your store with things to sell. You can do it in just a few minutes, and AI can help with the parts that usually take the longest — like writing descriptions or creating images.
Tip: Do it with AI. The fastest way to add a product is to just ask. Open the AI Assistant in your dashboard and type something like "Create a product called Lavender Soy Candle for $18" — it fills in the details for you, and you can refine from there. Need a whole catalog at once? The AI product wizard can create many products from a single plain-language description.
Before you start
You don't need much to add your first product, but it helps to have a few things ready:
- A product name — what shoppers will see.
- A price — you can change it any time, so an estimate is fine to start.
- At least one photo — or a clear description, since AI can generate images for you if you don't have any yet.
If you're brand new, the setup checklist walks you through everything in order.
Step 1: Open your products
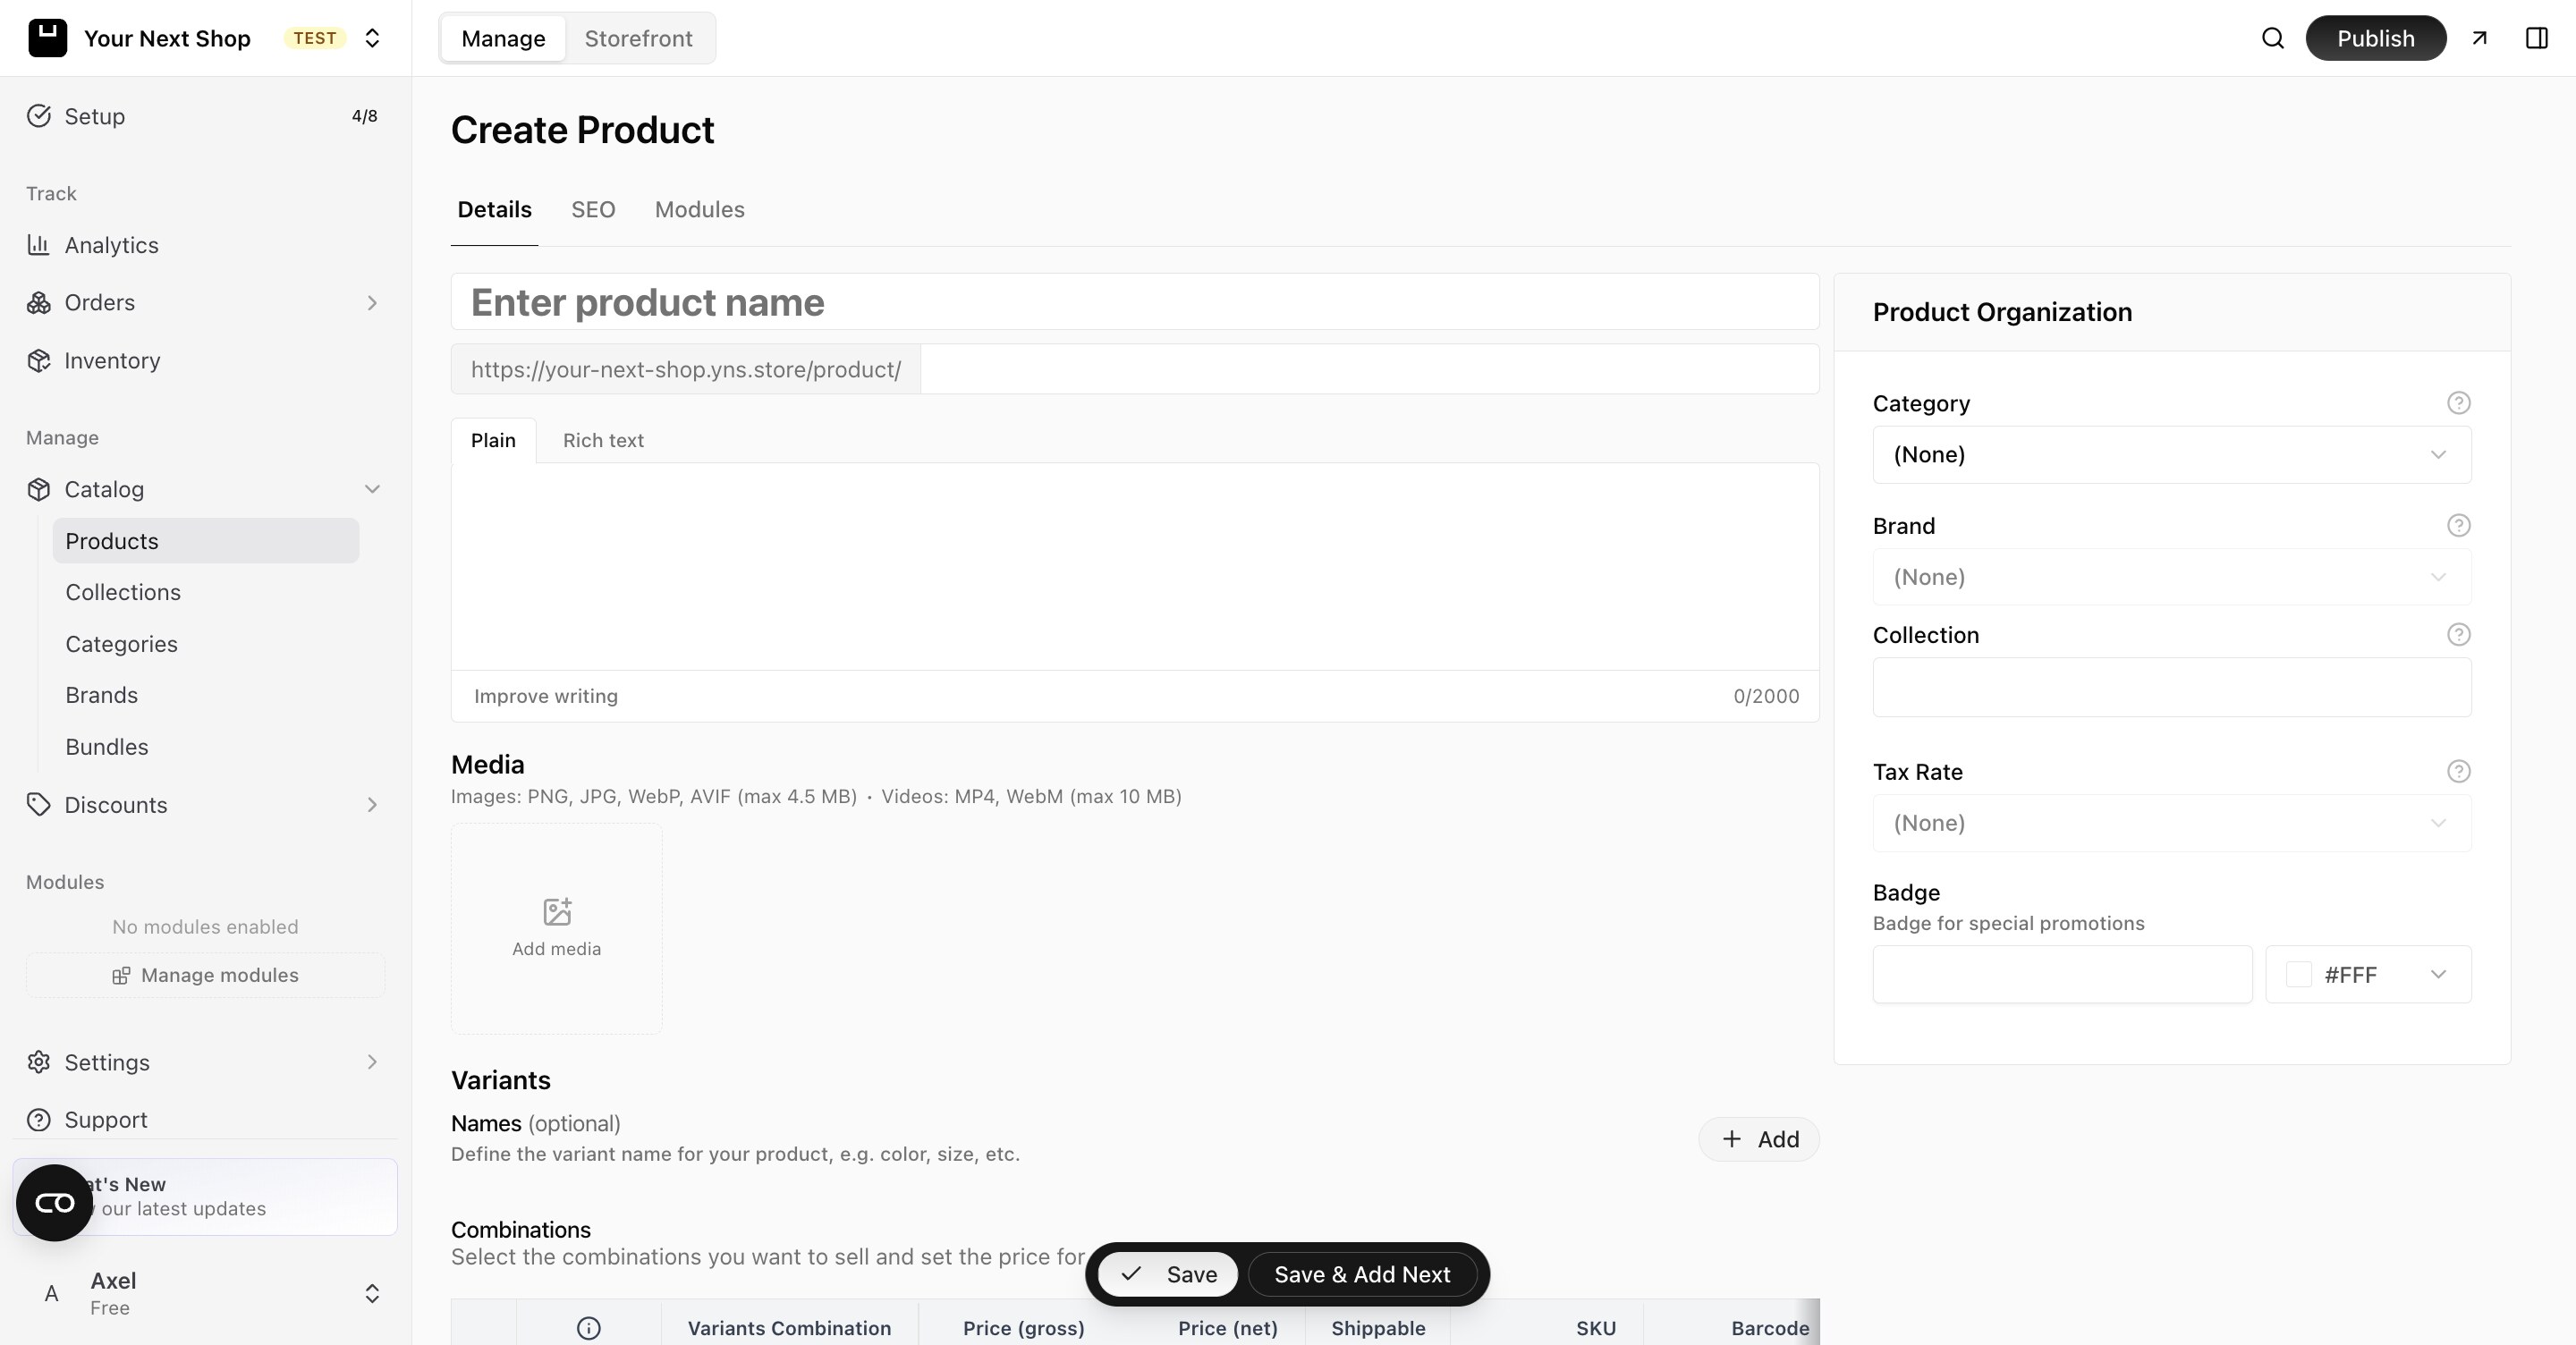
In your dashboard, open Manage in the sidebar, then go to Products. This is where every product in your store lives. To create a new one, choose to add a new product.
Step 2: Add the basics
Fill in the key details so shoppers know what they're buying:
| Field | What it does |
|---|---|
| Name | What the product is called (for example, "Lavender Soy Candle"). This is the first thing shoppers read, so keep it clear and specific. |
| Price | How much it costs. You can adjust this any time, run coupons and discounts on it, or include it in a promotion. |
| Description | The full details, written in a rich text editor so you can add headings, lists, and bold text. This is your chance to answer the questions a shopper would otherwise have to ask. |
| Web address | The link shoppers and search engines use to find this product. It's usually filled in from the name automatically, but you can tidy it up. |
Writing a description that sells: focus on what the product does for the buyer, not just what it is. Mention size, materials, what's included, and how to use or care for it. Short paragraphs and bullet lists are easier to skim on a phone than one long block of text.
Tip: Do it with AI. Not sure what to write? Click the sparkle button on the description field to have AI draft a description for you, then edit it to sound like your brand. It's also great for improving a rough draft you've already written.
Step 3: Add images
Upload one or more photos of your product. The first image becomes the main one shoppers see in your store and in search results, so lead with your best shot.
If you don't have photos yet, you can let AI generate product images — and even short videos — from a description using Image Studio. See Add and manage product images for the full walkthrough.
Step 4: Organize the product
The Product Organization panel is where you connect a product to the rest of your store so it's easy to find and browse:
- Category — the aisle the product belongs in, like "Candles" or "Home". See categories and collections.
- Brand — who makes it, useful if you carry several labels. See brands.
- Collection — curated groupings like "New Arrivals" or "Gifts Under $25".
- Tax rate — how tax is applied at checkout. See taxes.
You can skip these to start and add them later — but filling them in early makes your store feel organized from day one.
Step 5: Choose draft or published
Every product has a status:
| Status | What it means |
|---|---|
| Draft | Saved but hidden from shoppers — perfect while you're still working on it |
| Published | Live and visible in your store |
Start as a draft if you're not ready, then switch to published when it's perfect. Drafts are also handy for prepping a seasonal launch quietly before going live.
Step 6: Save
Save your product, and you're done. You'll see it in your products list right away, and you can edit any detail at any time.
Common mistakes to avoid
- Forgetting to publish. A product saved as a draft won't show in your store — flip it to published when it's ready.
- A vague name. "Candle" is harder to find and less appealing than "Lavender Soy Candle, 8oz".
- No tax rate when you need one. If you charge tax, set the rate so checkout totals are correct.
- Selling options as separate products. If a product comes in sizes or colors, use variants instead of one product per option.
FAQ
Do I have to add a price right away?
Yes — a product needs a price before shoppers can buy it. But you can set a placeholder and change it any time, so don't let pricing slow you down.
Can I save a product before it's finished?
Absolutely. Save it as a draft and it stays hidden from shoppers until you switch it to published. This is the best way to work on something over a few sittings.
What if I don't have a photo yet?
You can publish without one, but products with images sell far better. If you're stuck, use AI to generate an image from a description — see product images.
How do I sell the same product in different sizes or colors?
Use product variants rather than creating a separate product for each option. Variants keep everything under one product, each with its own price, stock, and image.
What's next
- Offer options like size or color with product variants.
- Add great photos with product images.
- Group products with categories and collections.
- Let AI run your store by chat — see the AI Assistant.