Finish your setup checklist
The key steps to get your store ready to sell, in the order that makes sense.
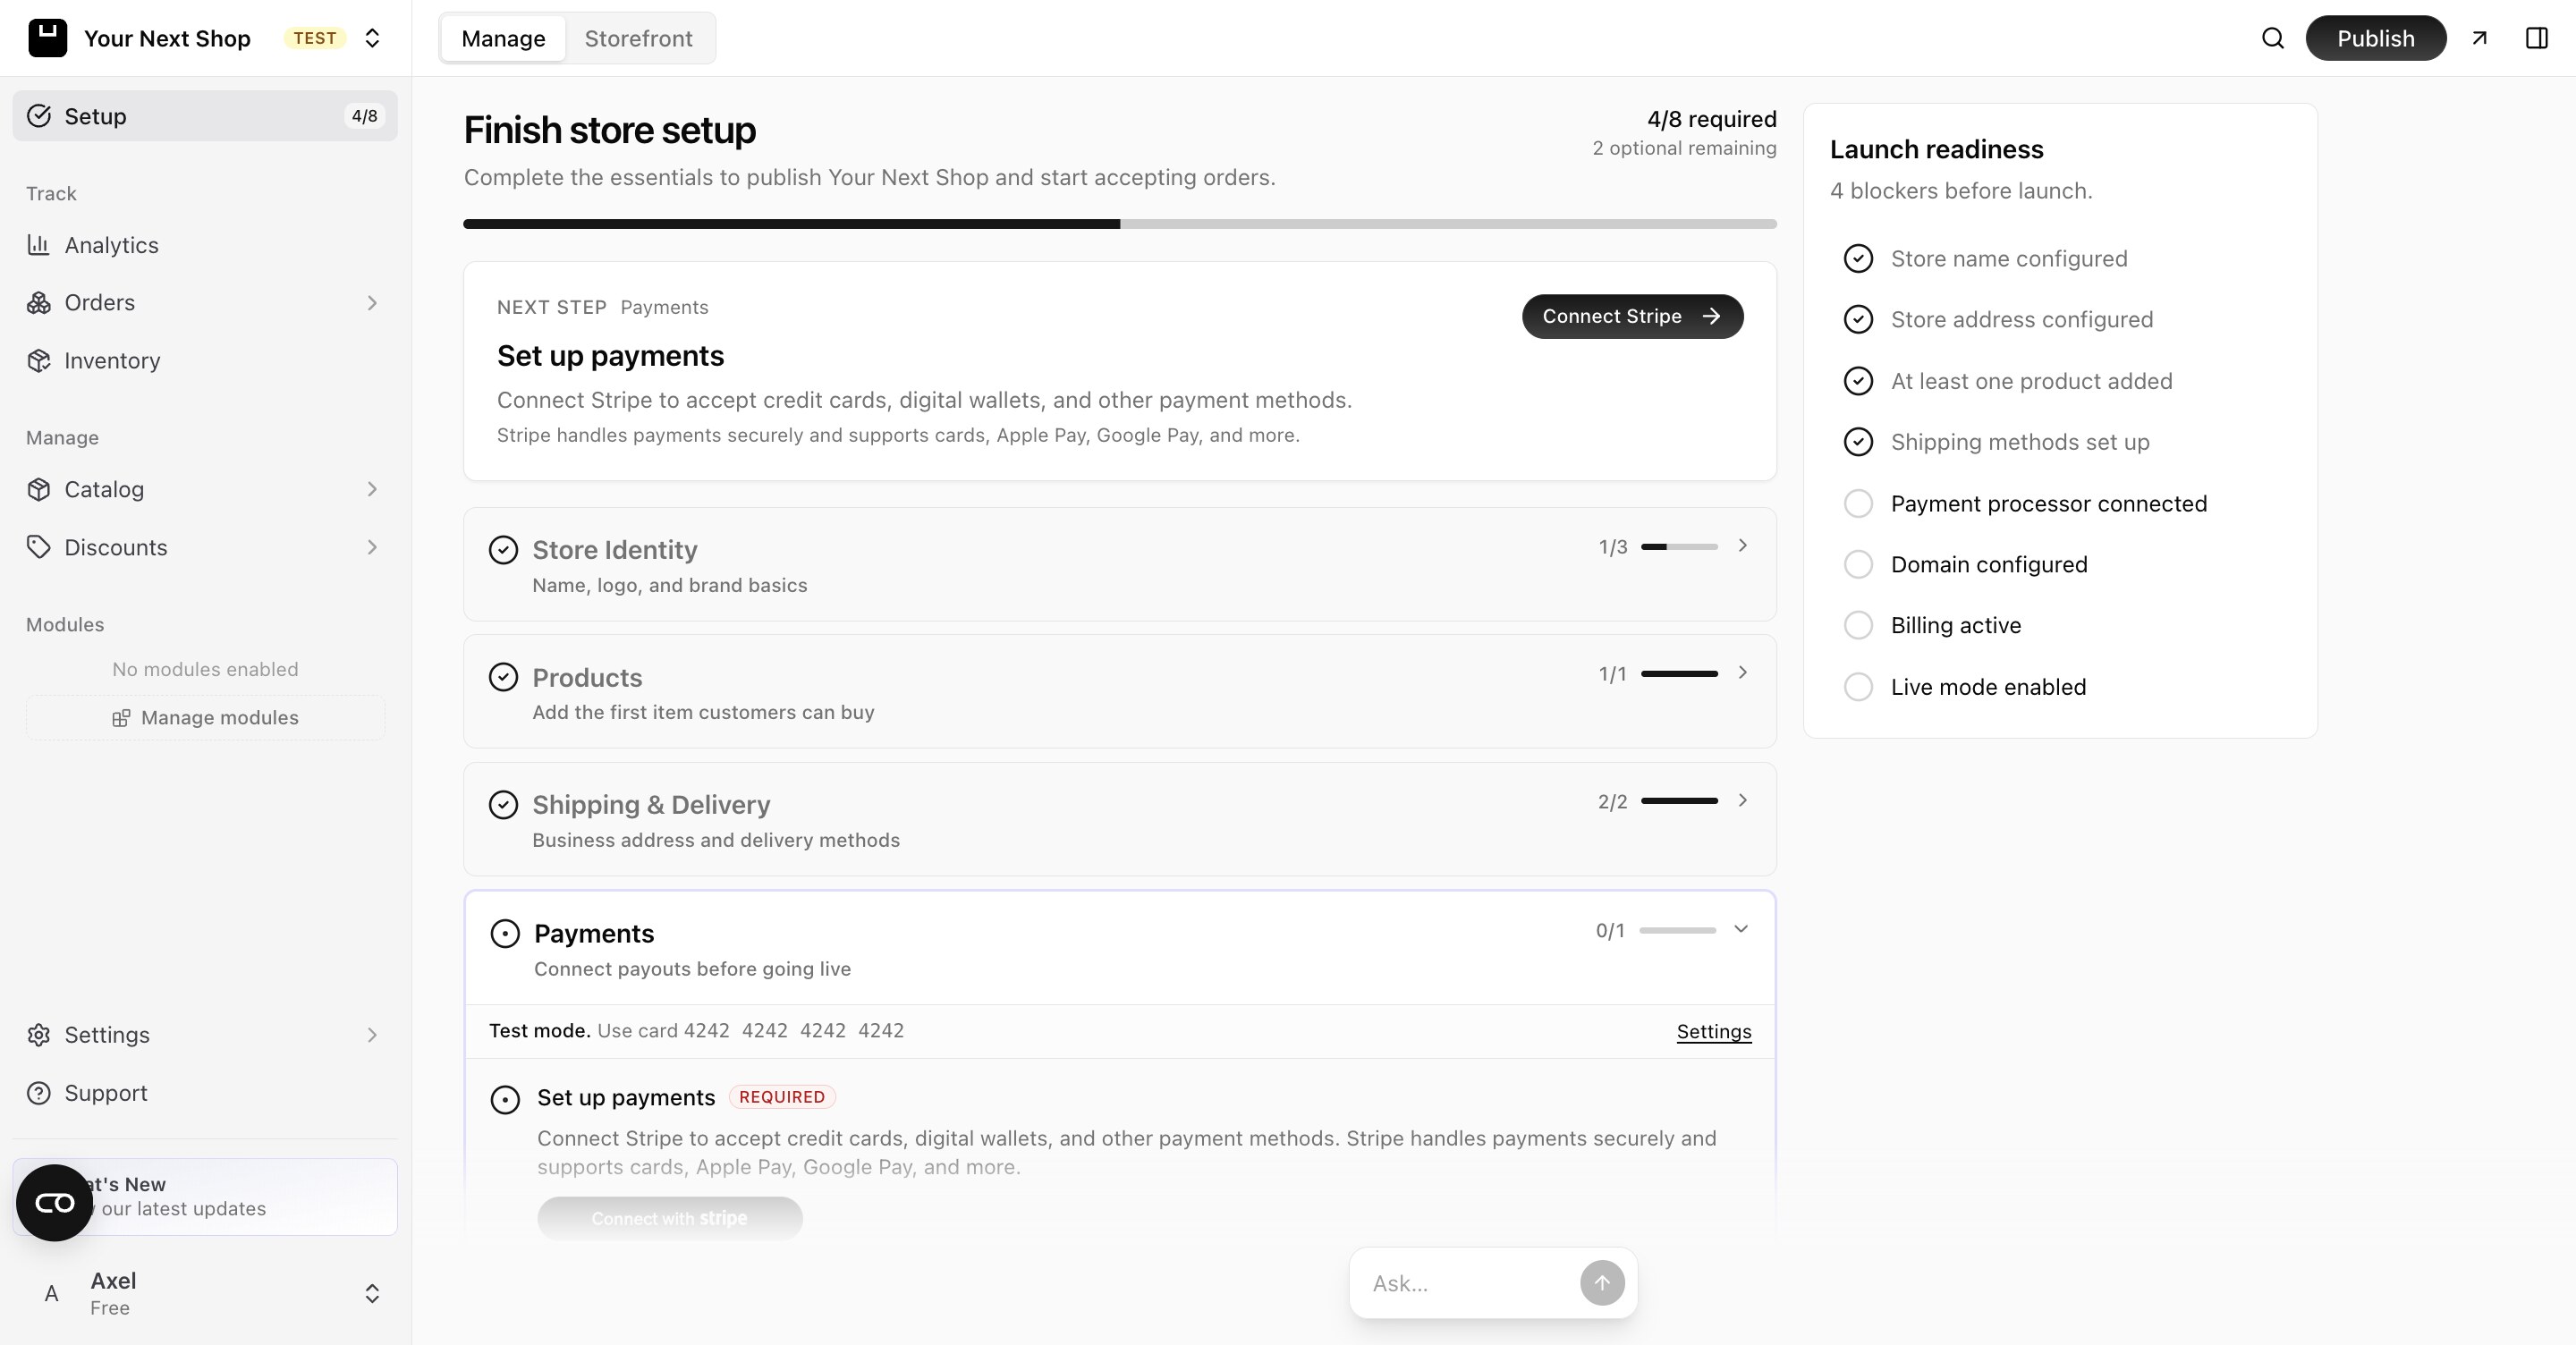
Getting ready to sell comes down to a short list of steps. Work through them in order and your store will be ready to open to the world. You'll find this checklist on your dashboard home so you can track your progress.
How the checklist works
The checklist lives on your dashboard home and tracks which steps you've completed. You don't have to do everything at once — your progress is saved, so you can step away and pick up later. A few steps are essential before you open (products, payments), while others polish your store but won't stop you from launching.
Tip: Do it with AI — the AI Assistant can take care of some of these steps and guide you through the rest. Try "add a product called Lavender Candle for $24" and it adds it for you, or ask "how do I set up free shipping over $50?" and it walks you through the steps.
Your setup steps
1. Add your products
Your store needs something to sell. Add your first products with names, prices, and photos. See Add a product.
2. Connect Stripe for payments
To get paid, connect Stripe — this is how your store accepts cards and sends money to your bank. See Connect Stripe to get paid.
3. Set up shipping
Decide how customers receive their orders and what they'll pay for delivery. See Shipping methods.
4. Set your taxes
Tell your store how to handle tax so the right amount is added at checkout. See Taxes.
5. Customize your design
Make your store look the way you want. Just describe the changes with the AI design builder.
6. Set your store details
Add your store name, contact info, and other basics in your settings. See General settings.
7. Add your legal pages
Add pages like your privacy policy and terms so customers (and you) are covered. See Legal pages.
8. Publish your store
When everything's ready, publish and open your doors. See Publish and go live.
What's essential vs. nice to have
Not every step blocks your launch. Here's how they sort out:
| Must do before you open | Polish you can add later |
|---|---|
| Add at least one product | Fine-tune your design |
| Connect Stripe so you can get paid | Add extra pages and content |
| Set up shipping and taxes | Turn on modules like reviews or a blog |
| Add your legal pages | Connect a custom domain |
Note: You can publish with just the essentials and keep improving your store while it's live. Customers won't see your in-progress edits until you publish them.
Tips for working through it
- Go in order when you can. The steps build on each other — products and payments first, polish later.
- Lean on the AI Assistant. Many steps are faster by chat than by clicking through menus.
- Test as you go. After connecting payments and shipping, a quick test order confirms everything works — see Publish and go live.
- Don't aim for perfect. A live store you keep improving beats a perfect one that never opens.
FAQ
Do I have to finish every step before I launch?
No. Add at least one product, connect Stripe, set up shipping and taxes, and add your legal pages, and you're ready to open. The rest you can refine while your store is live.
Can I do these steps with AI instead of clicking around?
For some steps, yes — the AI Assistant can add products and change store details just by describing what you want. For others, like shipping and taxes, ask it to guide you and it'll walk you through the setup screens.
Is my progress saved if I stop partway?
Yes. The checklist saves your progress, so you can leave and come back any time and pick up where you left off.
What if I get stuck on a step?
Each step links to a help article with full instructions. You can also ask the AI Assistant to walk you through it or do it for you.
What's next
- Add what you sell in Add a product.
- Get paid by connecting Stripe.
- When you're ready, publish and go live.