Create your store with AI
Describe your business in a few words and let AI build your first store — branding, layout, and starter content included.
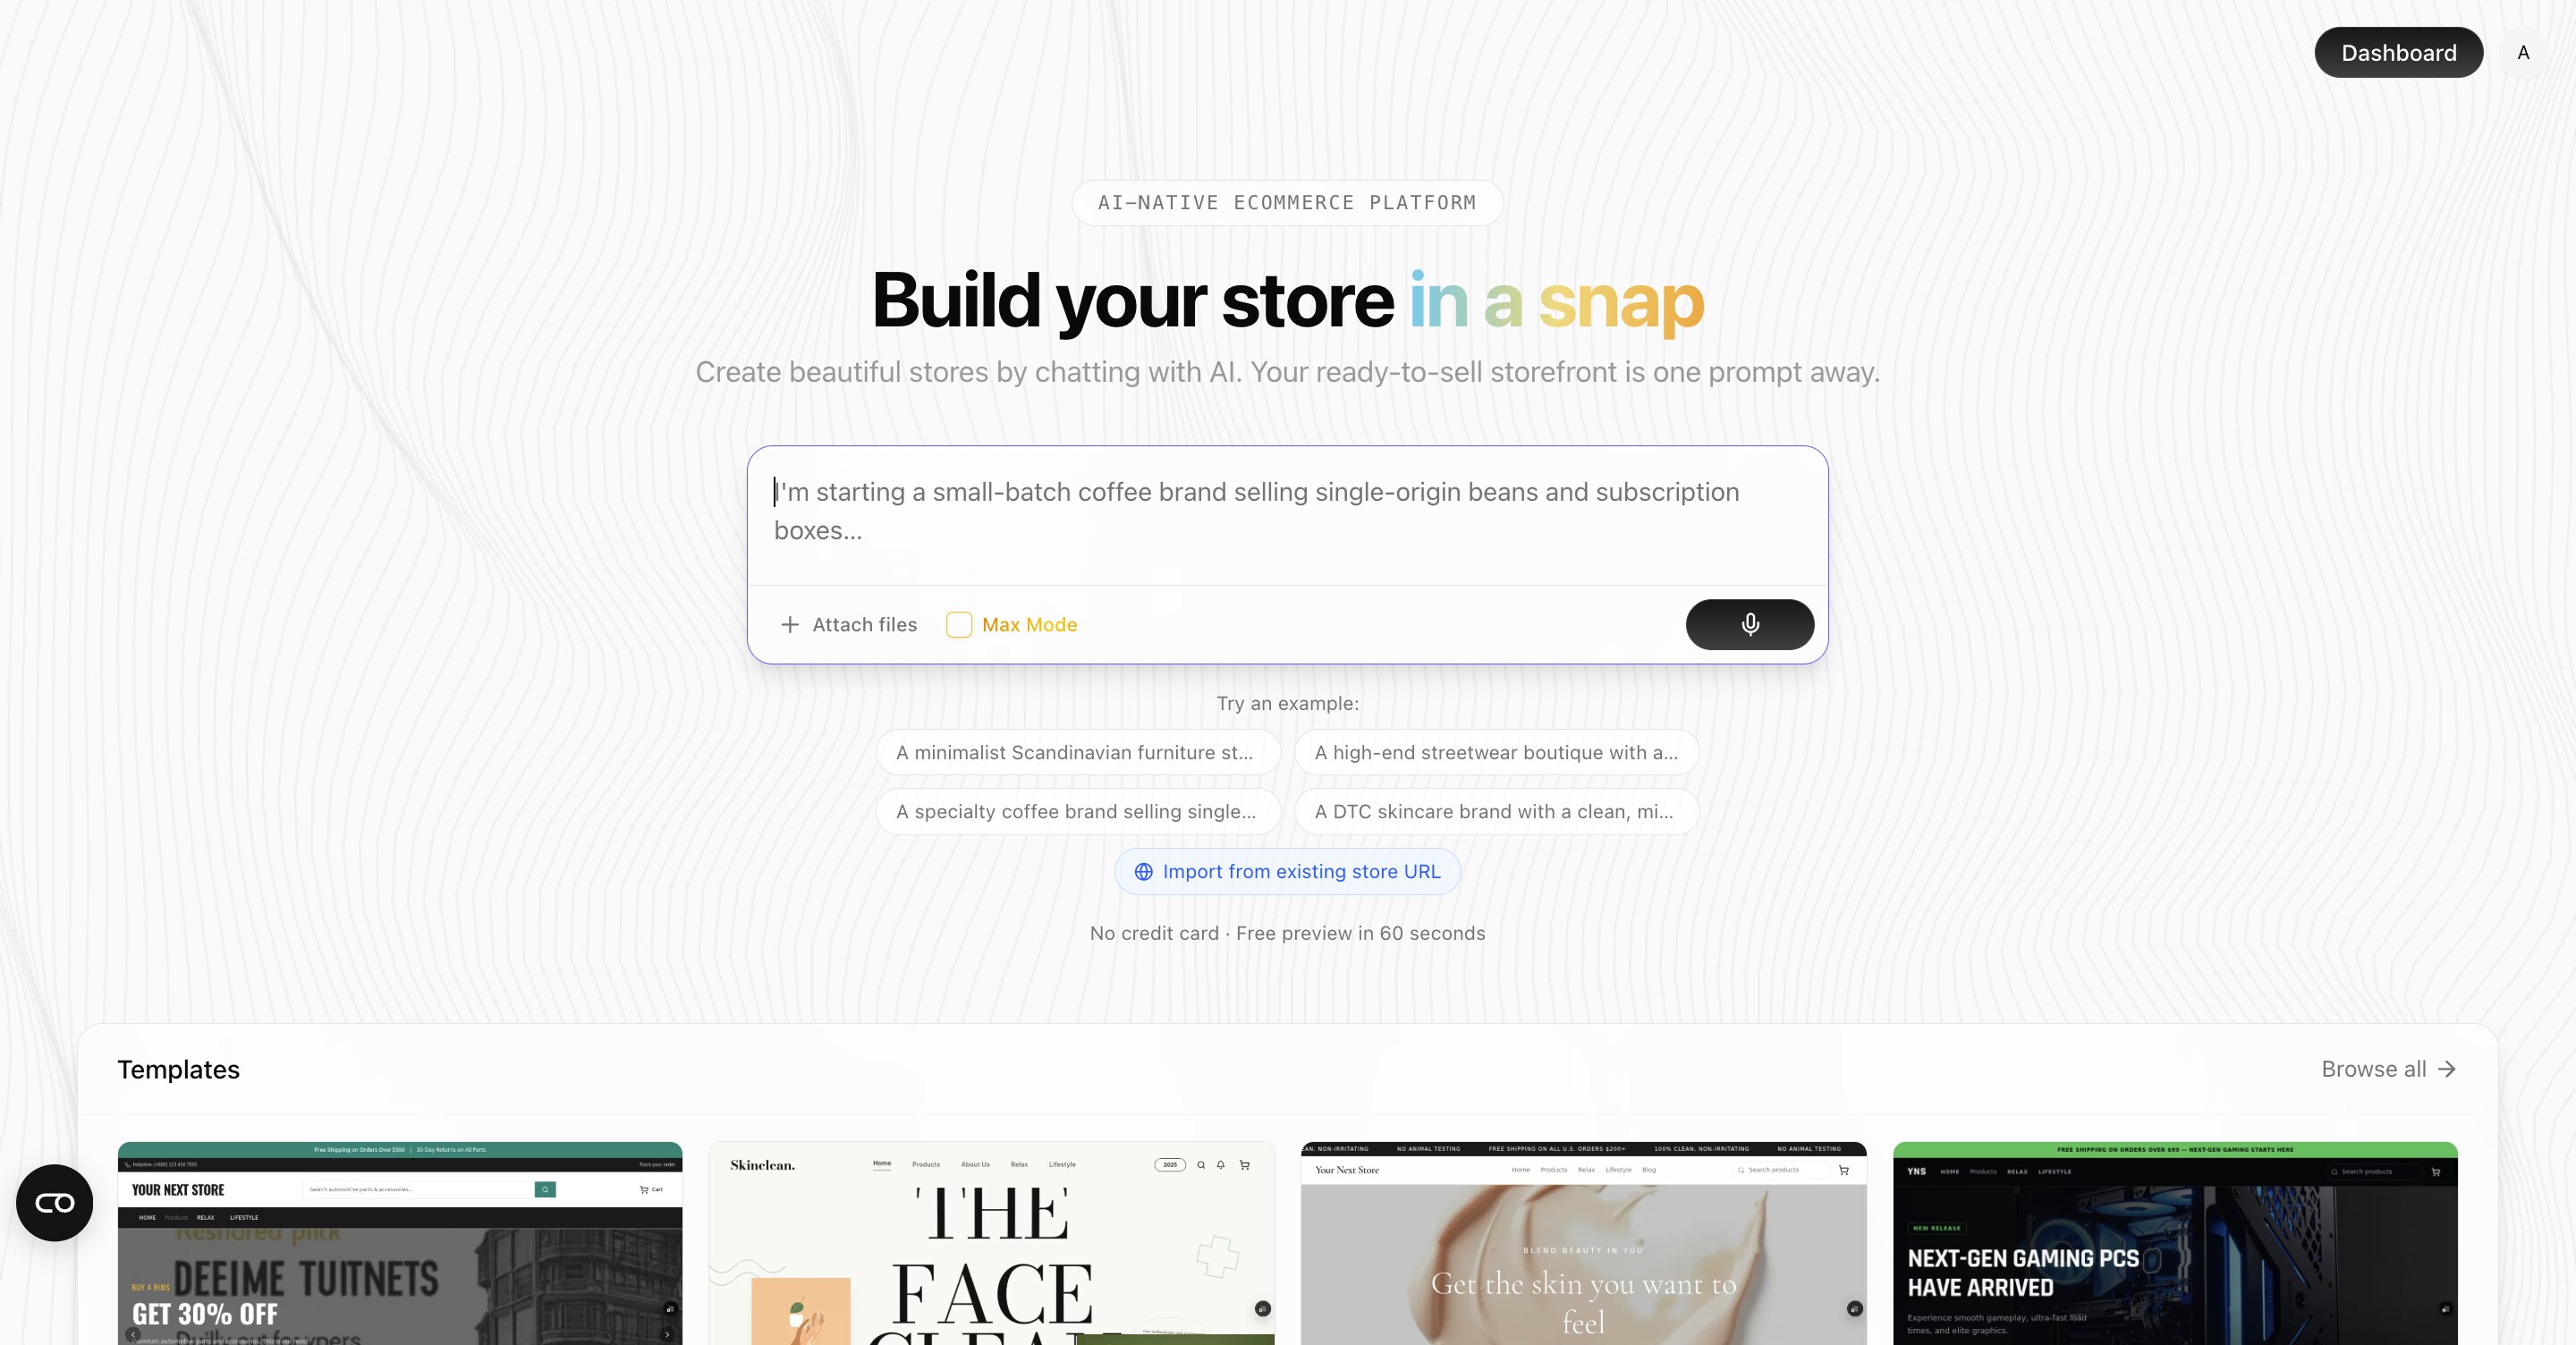
Creating a store on YNS starts with a simple description of your business. From there, AI builds a complete starting point you can refine — you're never staring at a blank page.
Before you start
You don't need much to begin:
- A rough idea of what you sell and who you sell to.
- A store name (don't worry, you can change it later, and AI can suggest one).
- An email address to create your account.
You do not need product photos, copy, or a logo to get started — AI can generate a starting point for all of these. Think of this first step as a quick sketch you'll refine, not a final commitment.
Step 1: Describe your business
When you create a new store, you'll be asked to describe your business in your own words. The more specific you are, the better the result. AI uses your description to choose a fitting name, colors, fonts, layout, and starter content, so a richer description gives it more to work with.
A helpful description usually covers three things:
| Include | Example |
|---|---|
| What you sell | "Hand-poured soy candles" |
| Your style | "Warm and minimalist" |
| Who it's for | "People who love a calm home" |
Tip: Include what you sell, your style, and your audience. For example: "A cozy candle brand selling hand-poured soy candles, warm and minimalist style, aimed at people who love a calm home."
Step 2: Let AI build your store
Once you submit your description, AI generates a complete starting point, including:
- A store name and branding (colors, fonts, and overall style).
- A homepage layout with sections ready to fill in.
- Starter content so your store doesn't look empty.
This takes a few moments. If your store is being prepared in the background, you can keep working and you'll be notified when it's ready.
Note: Everything AI creates is a starting point, not a final answer. You can change the name, colors, layout, and content at any time — nothing is locked in.
Step 3: Start from an existing website (optional)
If you already have a website, you can have YNS pull in your branding — colors, fonts, and style — so your new store matches your existing look from day one. This is the fastest way to keep a consistent brand if you're moving from another platform or already run a site somewhere else.
Step 4: Review and refine
After your store is created, you'll land in your dashboard. From here you can:
- Add your products — see Add a product.
- Refine the design — just describe changes using the AI design builder.
- Connect payments — see Connect Stripe to get paid.
Tip: Do it with AI — once you're in the dashboard, the chat panel shows the AI Assistant everywhere you work, running your store by chat (adding products, finding orders, changing settings). When you open the Design area, the same panel switches to the AI design builder to reshape how your store looks. You can lean on both as you refine.
FAQ
Do I need product photos or a logo to create my store?
No. AI generates a complete starting point — branding, layout, and starter content — without any of those. You can add your own photos, logo, and copy whenever you're ready.
Can I change the name and design AI chose?
Yes. Everything AI creates is editable. Change the name in your general settings, and reshape the look with the AI design builder or a theme.
Will creating a store make it public right away?
No. Your store exists privately until you publish it. Work through your setup checklist, then publish and go live when you're ready.
Can I match my existing brand?
Yes. If you have a website, you can import its branding when you create your store. You can also upload a brand kit later so the design builder follows your colors and fonts — see Set your logo and branding.
What's next
Your store exists, but it isn't live to the public yet. Get familiar with your dashboard, then work through your setup checklist and publish and go live when you're happy.