Set up product variants
Offer options like size and color with their own prices, stock, and images.
Variants let one product come in different options — like a t-shirt in small, medium, and large, or a mug in three colors. Instead of creating a separate product for each, you keep them together under one product so shoppers can pick what they want on a single page.
What variants are
A variant is one specific version of your product. You define the options first, then each combination becomes its own variant.
For example, a t-shirt with two options:
- Size: Small, Medium, Large
- Color: Black, White
That gives you six variants (Small Black, Small White, and so on). Each one is a real, buyable version of the shirt.
When to use variants (and when not to)
Variants shine when shoppers are choosing between versions of the same product. Use a simple product instead when the items are genuinely different.
| Use variants when… | Use separate products when… |
|---|---|
| The item comes in sizes or colors | The items are different products entirely |
| Shoppers expect to choose on one page | Each item has its own name and story |
| Options share most details (description, brand) | Descriptions and photos differ a lot |
Tip: If your options don't change the price or stock, you may not need variants at all — a simple product is fine. Don't add complexity you won't use.
What each variant can have
Every variant can carry its own details, so you're never forced to treat them all the same:
| Detail | Why it's useful |
|---|---|
| Price | Charge more for a larger size, for example |
| Stock | Track how many of each option you have |
| Images | Show the right photo for each color |
| SKU | Your own code for finding and tracking a specific variant |
Step 1: Add your options
When editing a product, add the options that make it vary, such as Size and Color, and list the choices for each. Keep the option names simple and consistent — "Size" and "Color" are clearer than clever labels.
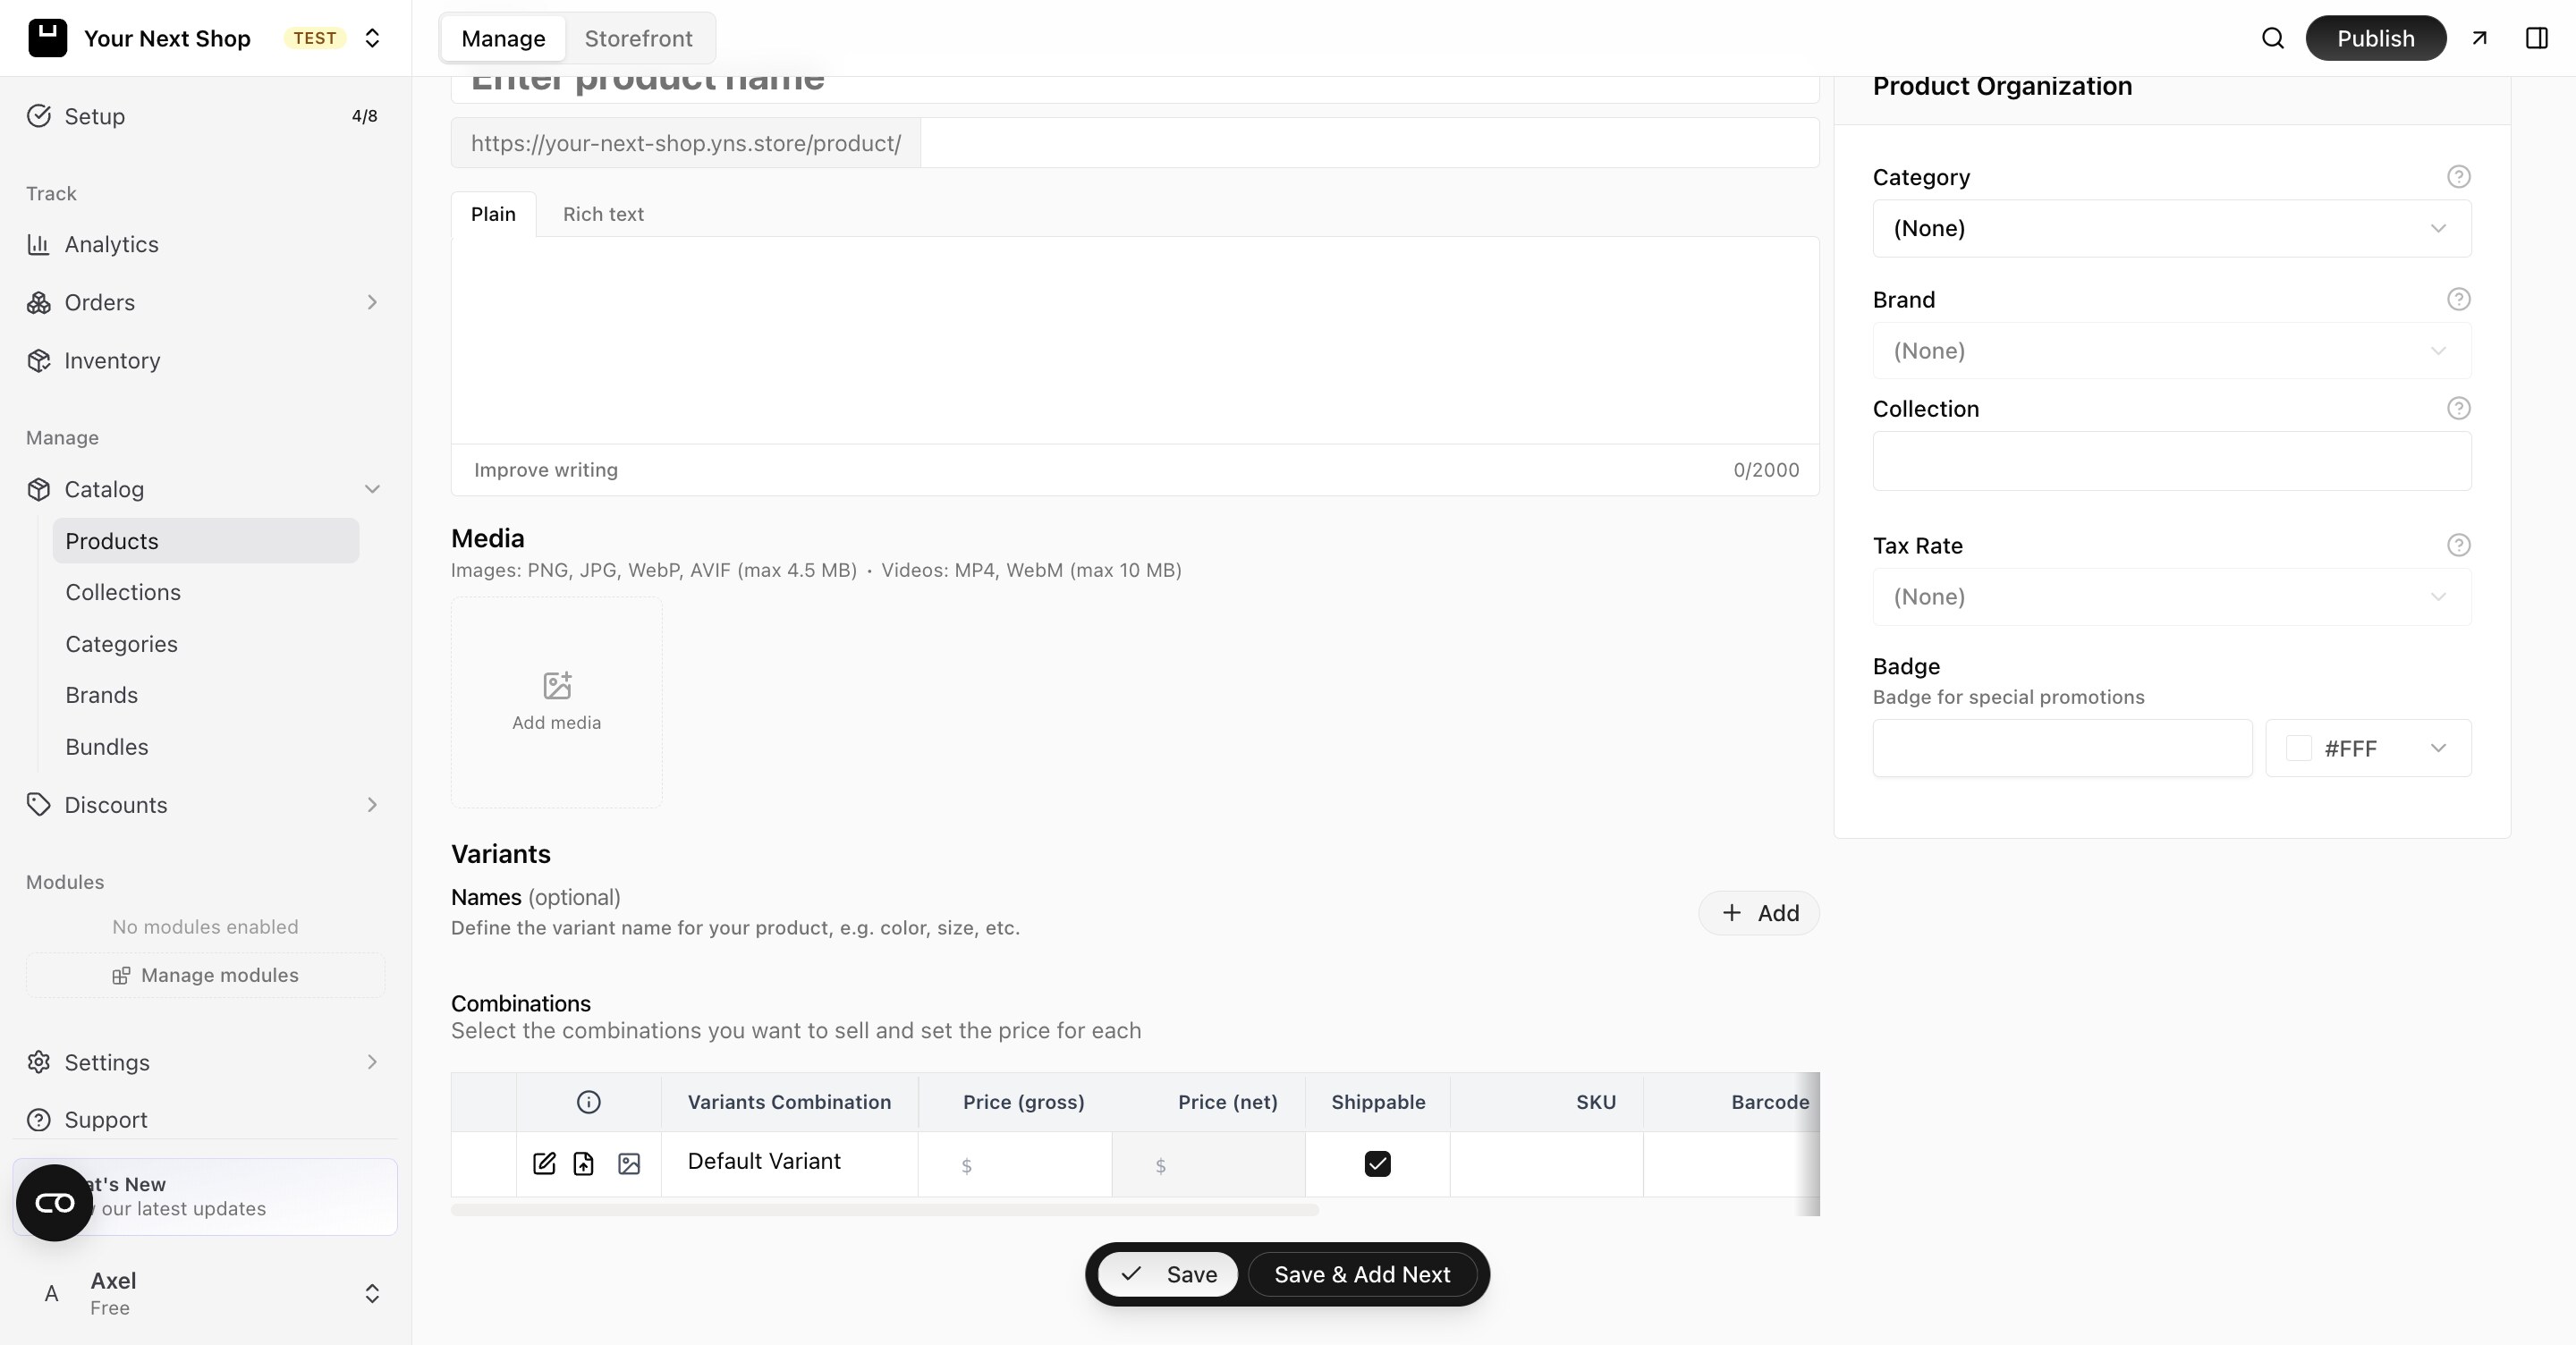
Step 2: Fill in each variant
Once your options are set, your variants are created automatically. Go through them and set the price, stock, and any variant-specific image. If most variants share the same price, set the base price first and only adjust the few that differ.
Step 3: Check it on your storefront
Open the product in your store and try selecting different options. Make sure each combination shows the right price, the right photo, and that out-of-stock options behave the way you expect. A quick test now saves confused shoppers later.
Common mistakes to avoid
- Too many options. Every option multiplies the number of variants. Two options with three choices each is six variants; add a third option and it balloons fast.
- Inconsistent choice names. Stick to one spelling — "Black", not sometimes "black" — so your store stays tidy.
- Forgetting stock per variant. Each variant tracks its own stock; leaving some at zero hides them from shoppers.
- Using variants for unrelated items. If two things don't share a description and story, they're better as separate products.
FAQ
How many variants can one product have?
Enough for real-world options like sizes and colors. Just remember that each option you add multiplies the total — keep the list to choices shoppers actually care about.
Can each variant have a different price?
Yes. Every variant has its own price, so you can charge more for a larger size or a premium color while keeping everything under one product.
Does stock track separately for each variant?
Yes. Stock is counted per variant, so you'll know you have three Smalls left even when Larges are sold out. See Manage inventory.
Should I use variants or separate products?
Use variants when shoppers are choosing between versions of the same item on one page. Use separate products when the items are genuinely different, with their own names, descriptions, and photos.
What's next
- Keep stock accurate with Manage inventory.
- Show the right photo per option with product images.
- Group your products with categories and collections.