Add and manage product images
Upload photos, set the order, add images per variant, and generate visuals with AI.
Good photos sell products. YNS lets you upload several images per product, arrange them, and even show different photos for different options — all without any photo-editing know-how.
Tip: Do it with AI. No photos yet? Image Studio can generate product images — and even short videos — straight from a description. It's perfect for placeholder shots while you wait on a real photoshoot, or for lifestyle backgrounds you don't have. Image Studio uses credits, so you only spend them when you generate something.
Before you start
A little preparation makes your photos look their best:
- Use the highest-quality originals you have. YNS handles the resizing, so big files are fine — bigger is better than blurry.
- Shoot on a clean, uncluttered background so the product stands out.
- Get a few angles — front, back, detail, and in-use shots all help shoppers decide.
Step 1: Upload your photos
When you add or edit a product, upload one or more images. You can add several so shoppers can see your product from different angles or in different settings. The more confident a shopper feels about what they're getting, the more likely they are to buy.
Step 2: Set the order
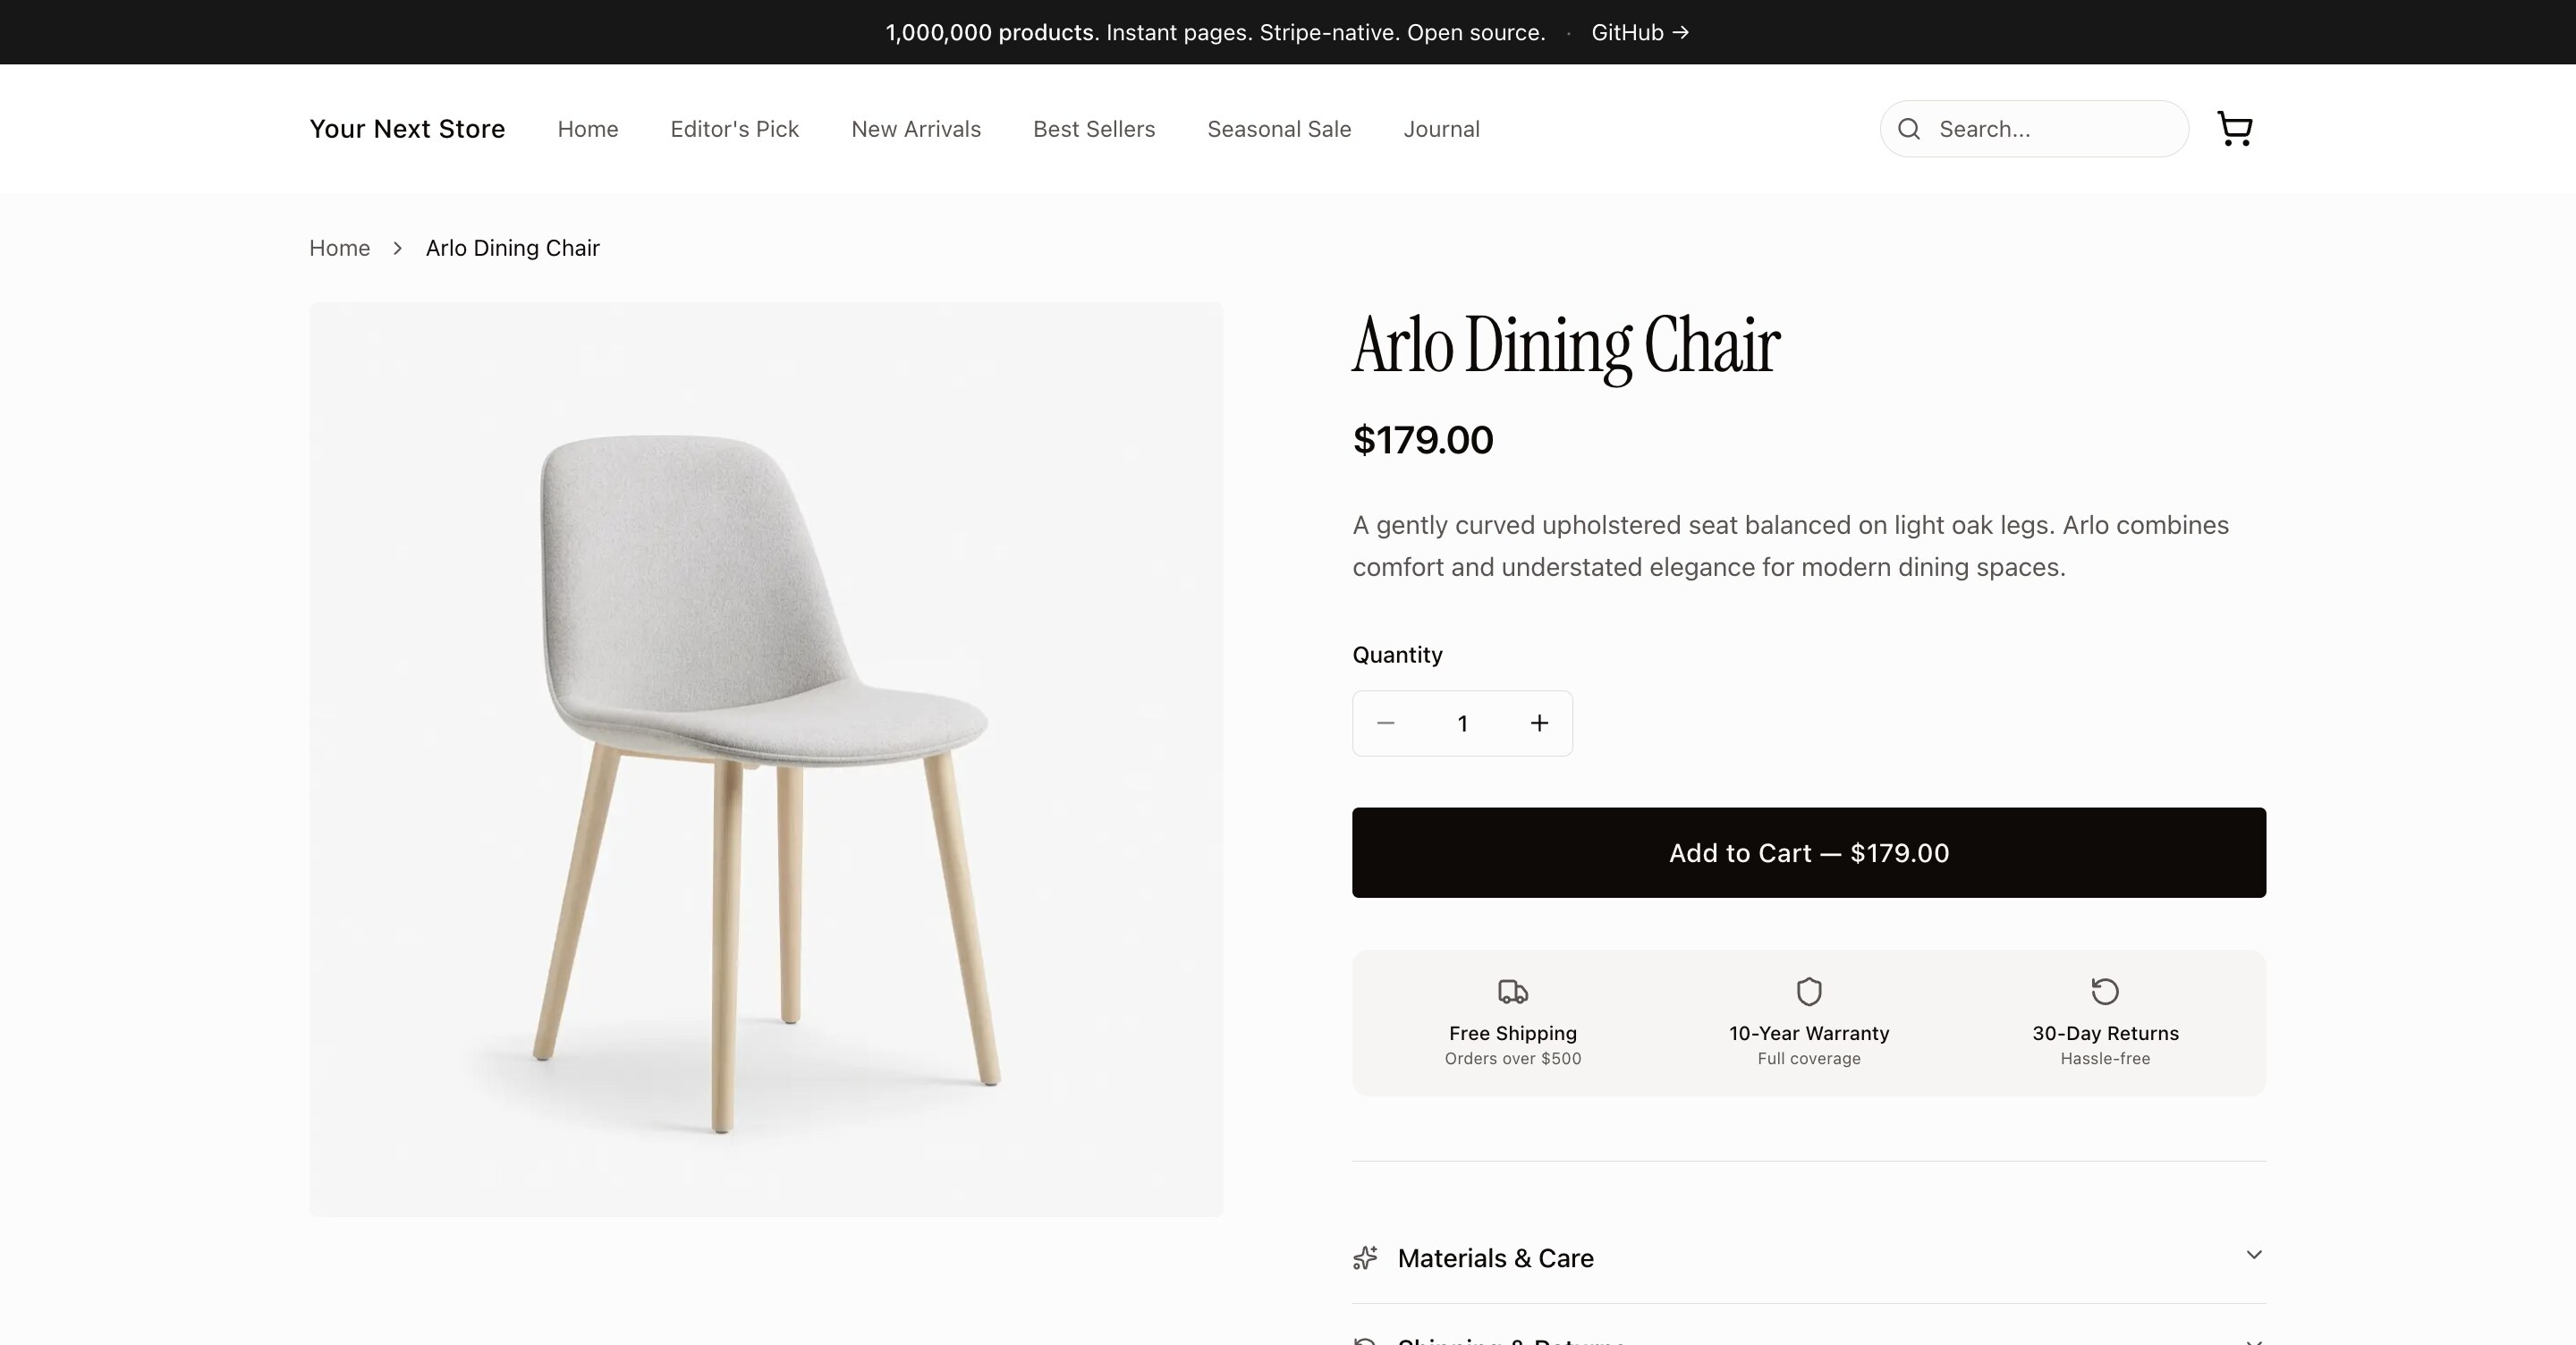
The order matters: the first image is the main one shoppers see in your store and in search results. Drag your images to reorder them and put your best shot first.
| Position | Best used for |
|---|---|
| First image | Your hero shot — clear, well-lit, the one that makes shoppers click |
| Middle images | Other angles, close-up details, scale, and what's included |
| Last images | Lifestyle or in-use shots that help shoppers picture owning it |
Tip: Lead with a clear, well-lit photo on a clean background. It's the image that makes shoppers click.
Step 3: Add variant-specific images
If your product has variants like colors, you can give each variant its own image. When a shopper selects "Blue", they'll see the blue photo — a small touch that makes your store feel polished and professional.
Note: A product's main images and a variant's images are separate. If a color's photo isn't showing, check that you added it to that specific variant, not just to the product's general gallery.
Generate images and videos with AI
If you're short on photography, Image Studio can create visuals for you from a plain description — for example, "this candle on a marble countertop with soft morning light". You can generate:
- Product images — clean shots or styled lifestyle scenes.
- Short videos — eye-catching clips to bring a product to life.
AI visuals use credits, so you're in control of how much you generate. Treat them as a head start: review each one, keep the ones that represent your product honestly, and swap in real photography when you have it.
Images are optimized automatically
You don't need to worry about file sizes or formats. YNS automatically optimizes your images so they load quickly and look sharp on phones, tablets, and computers alike. Fast-loading images also help your store feel snappy and rank better in search.
Note: Upload the best-quality photos you have. YNS handles the resizing, so larger originals are fine.
Common mistakes to avoid
- A blurry or dark main image. It's the first thing shoppers see — make it count.
- Inconsistent style. Photos that share a similar background and lighting make your whole store look more professional.
- Forgetting variant images. If shoppers can pick a color, show that color so the choice feels real.
- Misleading AI visuals. Make sure generated images match what the customer actually receives.
FAQ
How many images can I add to a product?
You can add several images per product — enough to show every angle and detail that matters. Lead with your strongest shot and add supporting images after it.
Do I need to resize or compress my photos first?
No. Upload your best-quality originals and YNS optimizes them automatically for fast loading on every device.
Do AI-generated images cost anything?
Yes — Image Studio uses credits when you generate images or videos, so you only spend them when you create something. Generate a few, keep the best, and regenerate if you want a different look.
Why isn't my variant's image showing?
A product's general gallery and a variant's images are separate. Make sure you added the photo to the specific variant (for example, the "Blue" option), not just to the product overall.
What's next
- Show the right photo per option with product variants.
- Adding a brand-new product? See Add a product.
- Design how your whole store looks with the AI design builder.