Add brands
Tag products by brand and let customers shop everything from a maker in one place.
If you sell products from more than one maker or label, brands help shoppers find exactly the one they're looking for. You create a brand once, tag your products with it, and customers can browse everything from that brand in one place.
When to use brands
Brands are most useful when you carry products from different companies — for example, a sneaker shop selling several footwear labels. If everything in your store is your own label, you may not need brands at all.
| Use brands when… | Skip brands when… |
|---|---|
| You resell products from several makers | Everything is your own single label |
| Shoppers search by brand name | Customers don't think in terms of brands |
| You want a page per brand | Your range is small and easy to browse |
What a brand can include
A brand is more than just a name. Filling in the extra details makes the brand page feel complete and trustworthy:
| Field | What it does |
|---|---|
| Name | The brand's name, shown to shoppers — keep it spelled consistently |
| Website | A link to the brand's own site, if you want to share it |
| Description | A short blurb about the maker, shown on the brand's page |
| Logo | The brand's mark, which makes the page instantly recognizable |
| Active toggle | Controls whether the brand shows on your storefront |
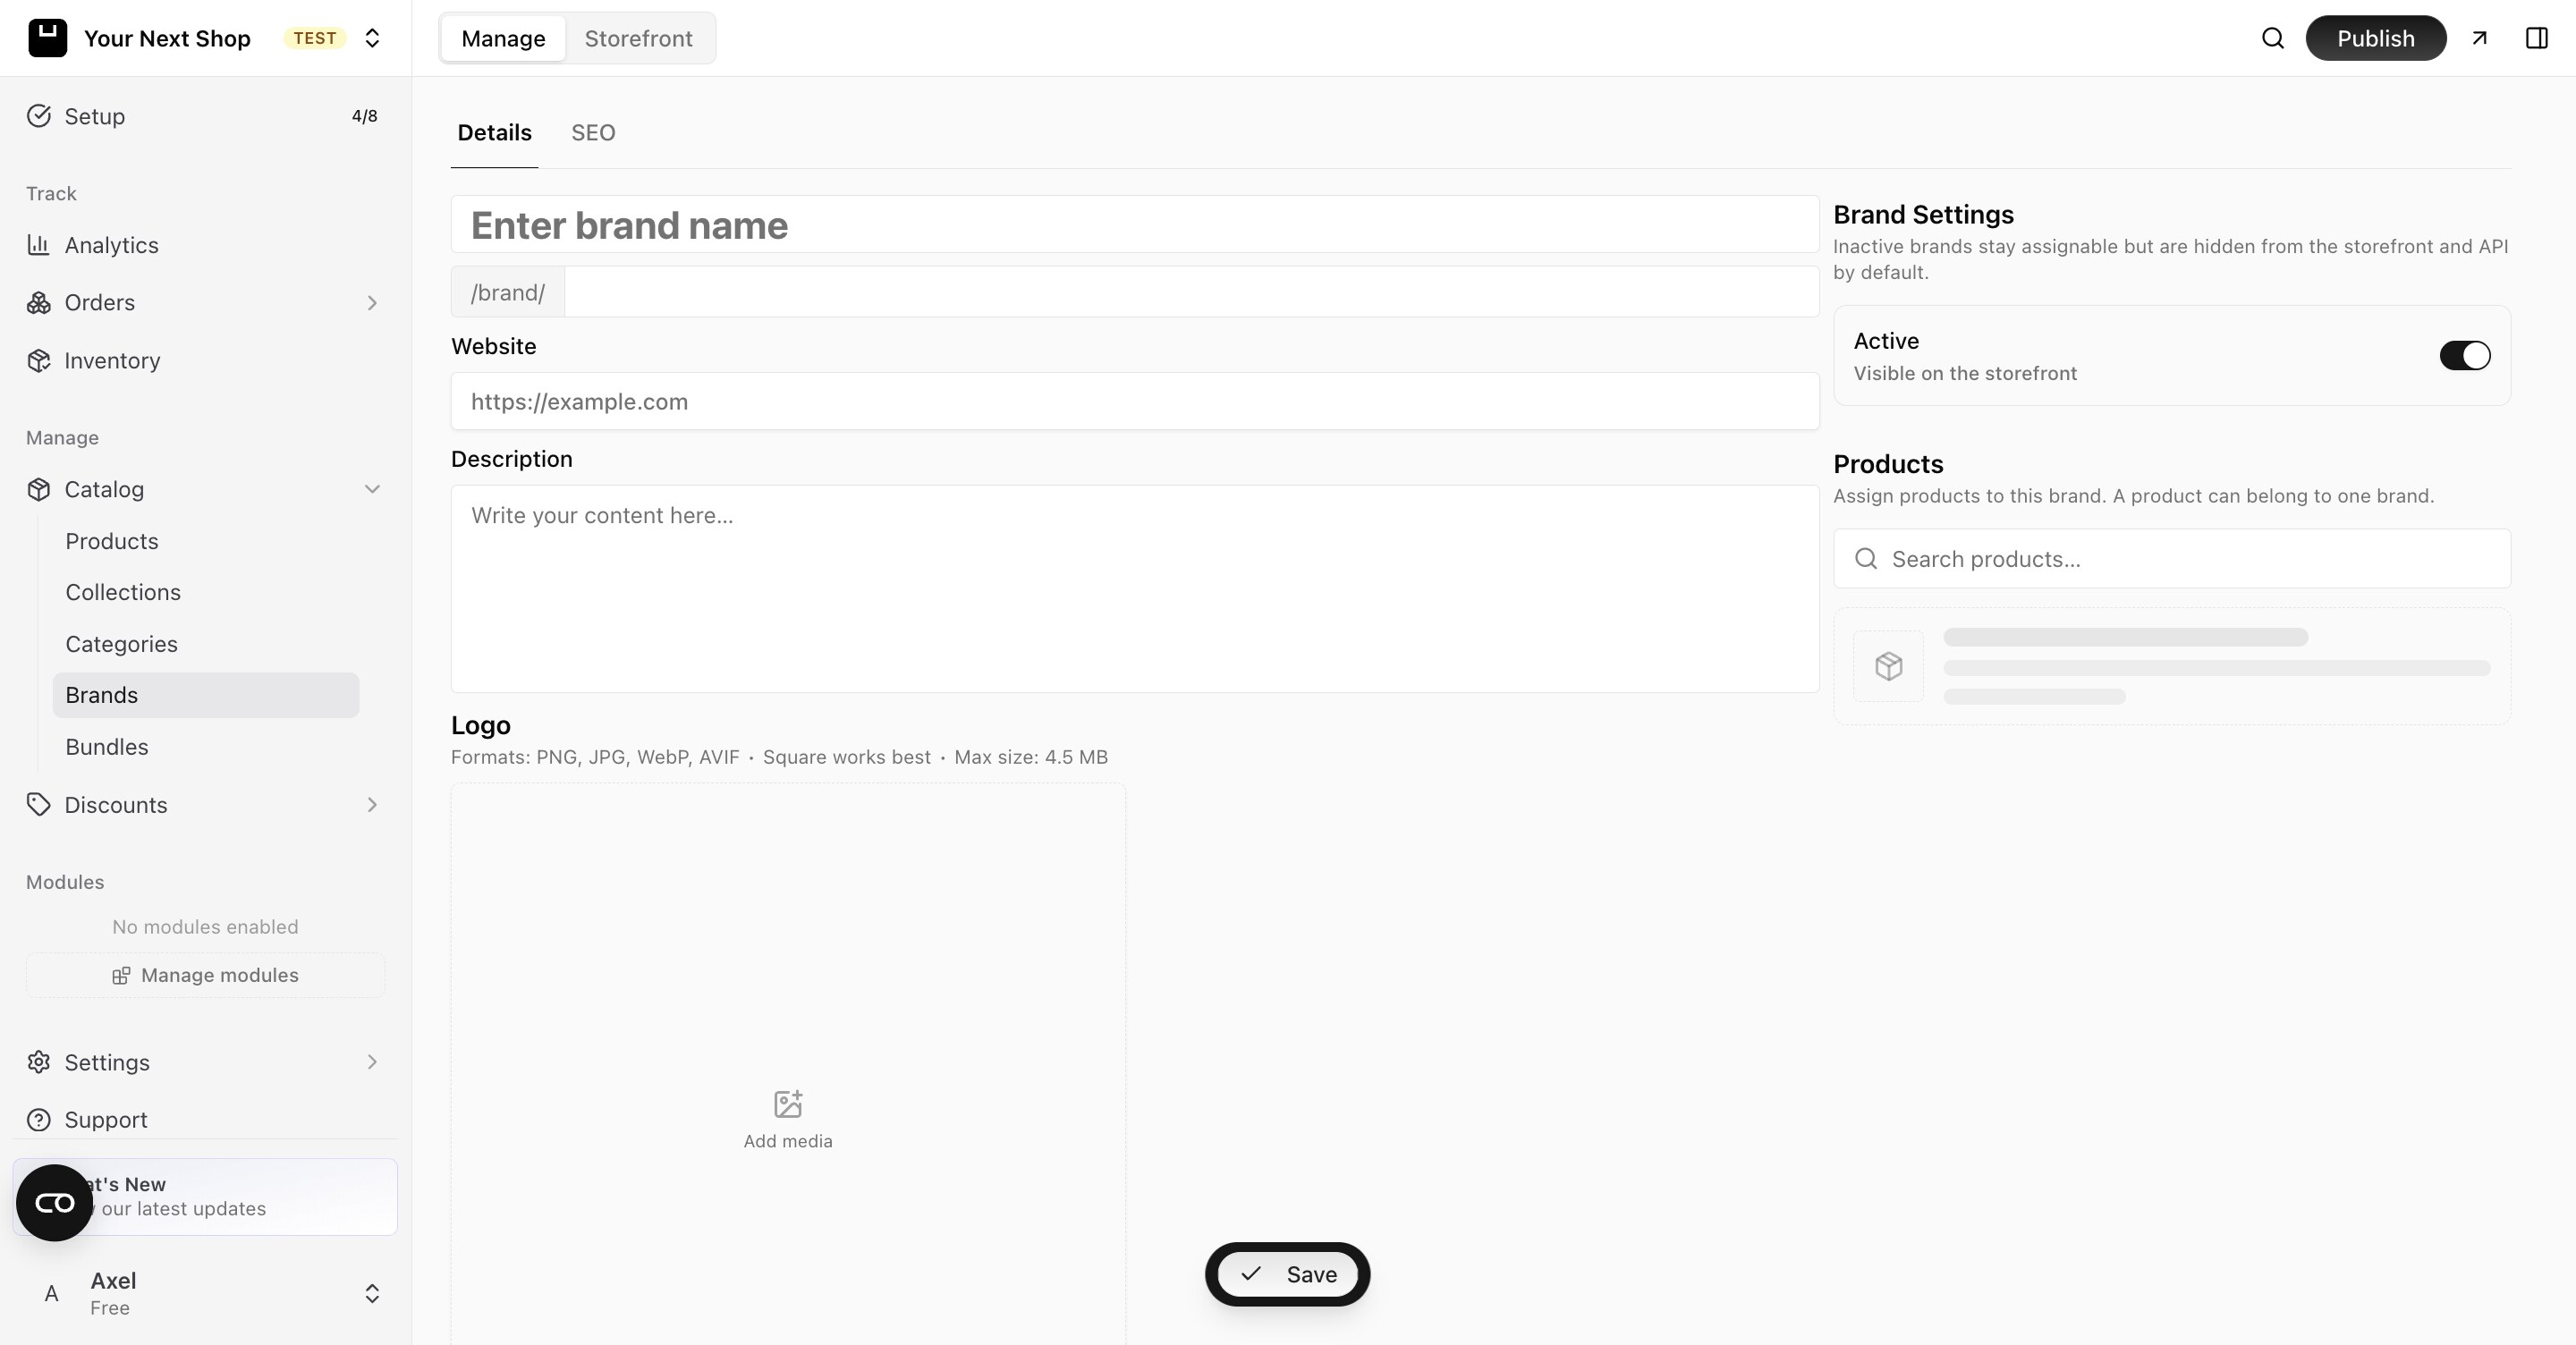
Step 1: Create a brand
In your dashboard, open Manage and go to your brands area. Add a new brand with its name, then fill in the website, description, and logo if you have them. You can create as many brands as you need.
Tip: Do it with AI. Setting up several brands at once? Ask the AI Assistant to create them for you, then assign products in bulk — far faster than one at a time.
Step 2: Assign products to a brand
When you add or edit a product, choose which brand it belongs to. Each product can be tagged with a brand so it's clear who makes it.
Tip: Keep brand names consistent (for example, always "Nike", not sometimes "nike"). This keeps your store tidy and easy to browse, and avoids the same maker appearing twice.
Step 3: Let customers shop by brand
Once products are tagged, shoppers can browse your store by brand and see everything from a single maker together — a great way to help loyal customers find their favorites fast. Use the Active toggle to show or hide a brand from your storefront when you need to.
Common mistakes to avoid
- Inconsistent spelling. "Nike" and "nike" become two brands. Pick one spelling and stick to it.
- Empty brand pages. A brand with no products tagged looks broken — assign products before featuring it.
- A logo that doesn't fit. Use a clean, recognizable logo so the brand page looks professional.
- Using brands as categories. Brands are about who makes it; categories are about what it is. Use both.
FAQ
What's the difference between a brand and a category?
A brand answers "who makes this?" while a category answers "what kind of thing is this?". A shopper might browse the "Nike" brand and the "Shoes" category — and the same product can belong to both.
Can a product belong to more than one brand?
A product is made by one maker, so it's tagged with a single brand. If you need a product to appear in several groupings, use collections instead.
Do I need brands if I only sell my own products?
Usually not. Brands are most helpful when you carry products from several different makers. If everything is your own label, categories and collections are enough.
How do I hide a brand temporarily?
Use the brand's Active toggle to take it off your storefront without deleting it, then switch it back on whenever you like.
What's next
- Add products to tag — see Add a product.
- Combine brands with categories and collections for even easier browsing.
- Feature brands in your store with navigation menus.