
Ecommerce Product Photography on a Budget (DIY Guide)
 Jakub Neander
Oct 7, 202610 min read
Shoppers can't touch your product, so your photos do the touching. Good ecommerce product photography does not need a studio or a budget of thousands. A phone, a window, two sheets of white card and a free editing tool get you 90% of the way. This guide shows the cheap setup, the five shots every product needs, and where AI tools now fit in.
Why Product Photos Decide Whether You Sell
In a physical shop, a customer picks things up, turns them over and checks the label. Online, they get a thumbnail and a gallery. If the images are dark, inconsistent or too few, the buyer fills in the gaps with doubt, and doubt turns into a closed tab or a return.
Photos work on three levels:
- Trust: a clean, consistent set tells shoppers a real business is behind the store.
- Information: images answer questions like size, color and finish that your description cannot.
- Fewer returns: a buyer who saw the real product, from several angles, is less likely to be surprised when it arrives.
The good news is that these goals do not need expensive gear. They need consistency and light.
The Budget Product Photography Kit
You can assemble a working setup for around $50 to $100 (rough estimate, depending on your country and what you already own).
| Item | Why you need it | Budget option |
|---|---|---|
| Camera | Sharp, high-resolution images | The phone in your pocket |
| Tripod or phone stand | Same framing every shot, no blur | A basic phone tripod |
| Light | Soft, even light with no harsh shadows | A bright window, plus an optional LED panel |
| Backdrop | Clean background | White poster board or a roll of seamless paper |
| Reflector | Fills in shadows | White foam board or a sheet of card |
| Surface | Something to place the product on | A table pushed up to the window |
Use a window, not a lamp
Daylight from a large window is the best free light source. Place a table next to it so the light comes from the side, and put a white foam board on the opposite side to bounce light back into the shadows. Turn off overhead lights: mixed light sources give photos a yellow or green cast that is a pain to fix later.
Shoot on an overcast day or at a window that does not get direct sun. Direct sunshine creates hard shadows; diffused light is flattering to almost every product.
Make a simple sweep
Tape a sheet of white poster board to a wall, then curve it down onto the table so there is no visible corner. This "sweep" gives you a seamless white background that you can use for every product.
Phone Camera Settings That Matter
Modern phones are more than capable. These small choices matter more than the model:
- Clean the lens. Fingerprints cause haze, and it is the most common unnoticed problem.
- Lock focus and exposure. Tap the product and hold until the lock appears, so the phone doesn't change brightness between shots.
- Turn off flash. On-camera flash flattens products and creates glare.
- Use the main lens, not zoom. Digital zoom lowers quality. Move closer or crop later.
- Shoot at the highest resolution. You can always shrink, never enlarge.
- Use a timer. Tripod plus a 2-second timer avoids shake from tapping the screen.
- Keep the camera level. Turn on the grid so lines stay straight.
The Five-Shot Set Every Product Needs
Decide the shot list once and use it for every product. That is how you get a store that looks designed instead of assembled.
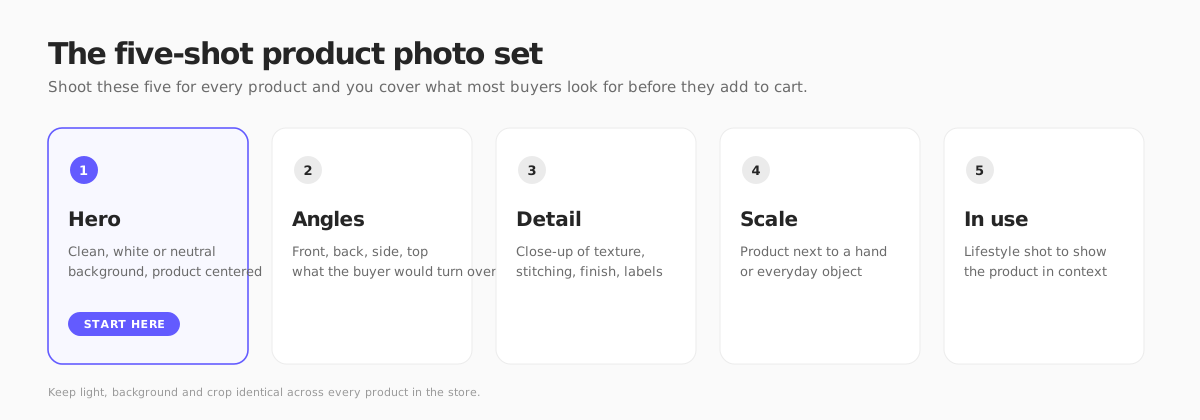
- Hero shot. The product alone, centered, on a clean background, filling most of the frame. This is your thumbnail, so it has to read at a small size.
- Angles. Front, back, side and top. Anything a buyer would turn over in their hands.
- Detail. A close-up of the texture, stitching, material, clasp or label. It signals quality.
- Scale. The product next to a hand, a coin or a familiar object. Size is the top unanswered question online.
- In use. One lifestyle image that shows the product in context: worn, on a shelf, in a kitchen.
Shoot all five for a few hero products first. Then speed up: with the setup fixed, a batch of 20 products goes quickly.
Consistency beats quality
A set of 30 products with the same background, crop and light looks premium. A set with 30 beautiful but different photos looks like a flea market. Pick a consistent distance, angle and margin, and note them down (or mark the table with tape).
Shooting Tips for Tricky Products
Some product types need a trick or two.
- Shiny and reflective items (jewelry, glassware, metal): reflections show everything around them. Surround the product with white card and shoot through a small gap, so the surfaces reflect white instead of your room.
- Dark products: use a white background and a reflector so detail does not disappear.
- White products: a light gray backdrop helps the edges stand out.
- Clothing: steam or iron first. Wrinkles read as low quality. Use a mannequin, a hanger or a flat lay, and stay with one style across the catalog.
- Food and cosmetics: show texture and packaging, and keep surfaces spotless.
- Transparent items: a dark backdrop sometimes outlines edges better than white.
Editing: What to Fix and What to Leave
Editing should correct, not change. The goal is that the photo matches the product on arrival.
Do these in any free editor:
- Crop and straighten to a consistent aspect ratio (square or 4:5 are common).
- Fix white balance so whites are white.
- Adjust exposure until the product is bright without losing detail.
- Match color to the real item. Color mismatch is a leading reason for returns, so compare the screen with the product in your hand.
- Remove dust and marks.
Do not over-sharpen, over-saturate or retouch away real features.
AI Tools for Background Removal and Scenes
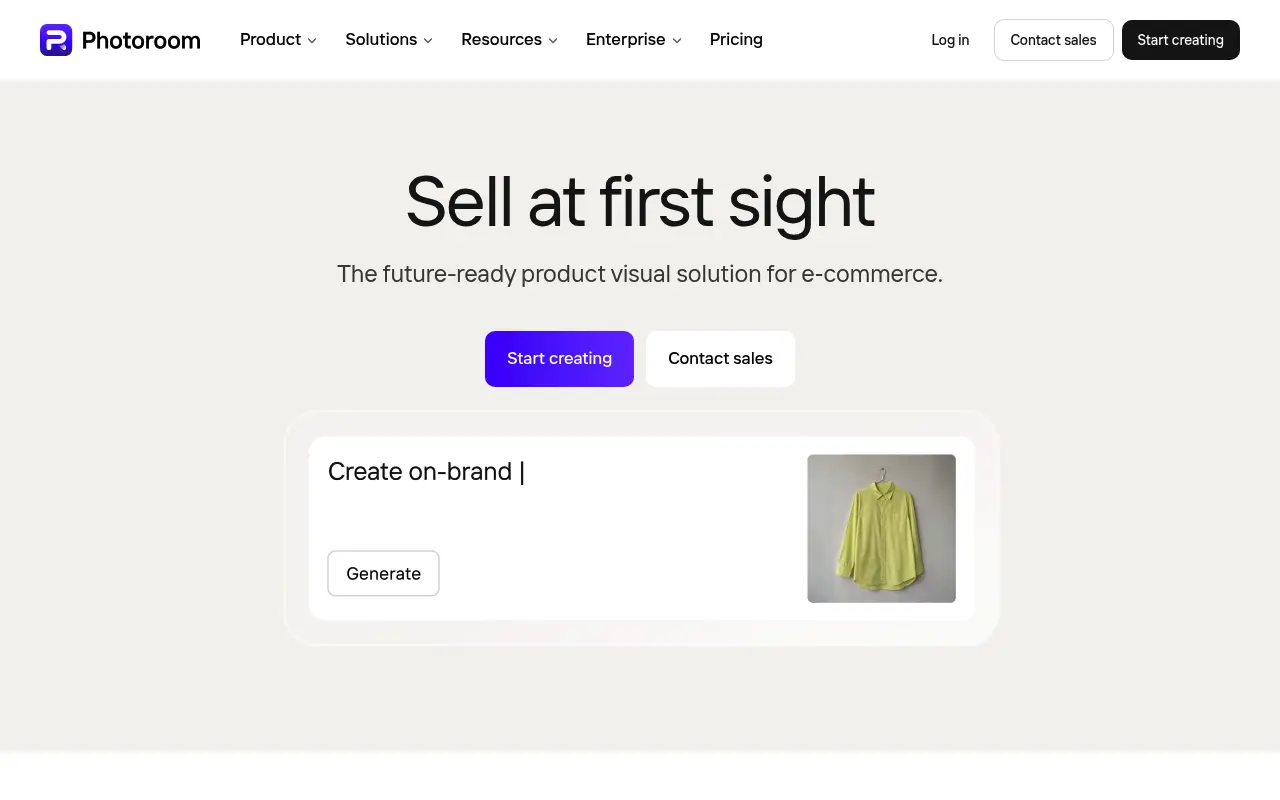
AI tools have changed the cheap end of product photography. You photograph the product on any plain surface, the tool cuts it out, and you get a clean white background or a generated scene.
| Tool | What it's known for | Good for |
|---|---|---|
| Photoroom | Background removal, AI backgrounds, batch edits | Catalogs with many products |
| Pixelcut | AI product visuals and model-style images | Lifestyle scenes |
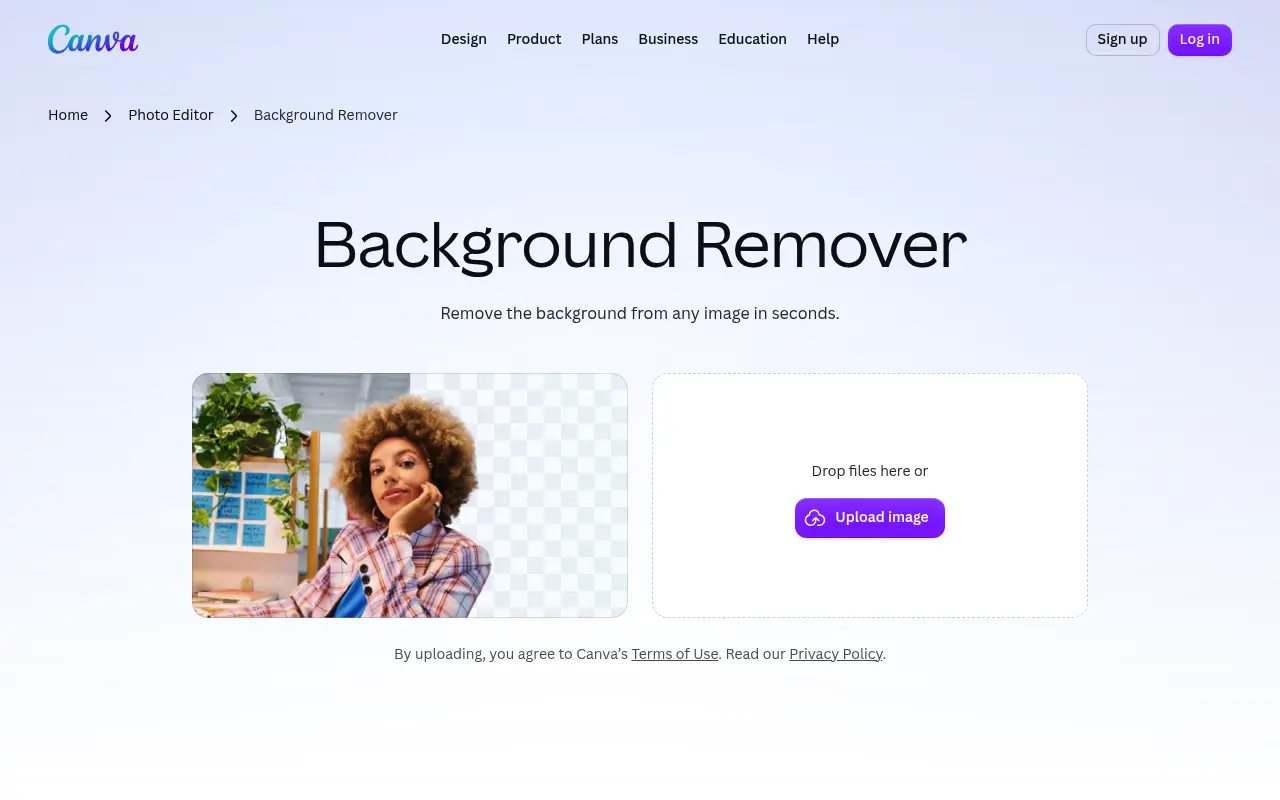
| Canva Background Remover | One-click cutouts inside a design tool | Quick edits and banners |
| remove.bg | Fast single-image cutouts | One-off jobs (its site says it is moving to Canva) |

Plans and limits change often, so check each tool's current pricing page before you commit.
Where AI helps and where it hurts
AI works well for cutouts, clean backgrounds and mood scenes. It works badly when it changes the product: wrong color, invented details, distorted logos or impossible proportions. If the generated image makes the product look better than it is, you are buying yourself returns and bad reviews, and in many countries misleading product images can also be a consumer-protection problem.
A safe rule: the product pixels must come from a real photo. Use AI for the world around it.
Marketplace Rules: Amazon, Google and Others
If you also sell on marketplaces, check their image requirements before you shoot. Amazon, for example, is well known for asking for a plain white background on main images, and many marketplaces require a minimum size so zoom works. Rules change and differ by category, so read the current guidelines in each seller center. Shooting your hero on white first means it works on your own store and on marketplaces.
Prepare Images for the Web
A great photo that loads slowly still loses sales.
- Use WebP or AVIF. They are much smaller than PNG or JPEG at similar quality.
- Resize before you upload. A 4000 px phone original is overkill for a product grid.
- Name files descriptively:
blue-ceramic-mug-front.webp, notIMG_4021.jpg. - Write alt text that describes what is shown, for accessibility and search.
- Keep the first image your best. It is the one in search results, collections and ads.
Our website speed guide covers how images affect load time, and the SEO guide covers image search.
Adding Photos to Your Store with Your Next Store
In Your Next Store, you upload one or more photos per product, and the first becomes the main image shoppers see in your store and in search results. Variants can carry their own image, so a color change shows the right photo. If you have no photos yet, Image Studio can generate product images, and even short videos, from a description. Details are in the product images help article.

Use generated images for placeholders and lifestyle scenes, and your own photos for the product itself.
Do a quick audit. Open your store on your phone and scroll your collection page. If the photos do not look like they belong together, fix the background and crop first, before buying a new camera.
A One-Afternoon Workflow
- Set up the table, sweep and reflector next to the window.
- Shoot the hero, angles, detail and scale shots for each product, in batches.
- Take lifestyle shots separately, since they need different props.
- Cull to the best shots and discard blurry ones.
- Batch edit: crop, white balance, exposure.
- Remove backgrounds where needed.
- Export to WebP at web size and name the files.
- Upload, put the hero first and review on mobile.
FAQ
Can I take ecommerce product photos with my phone?
Yes. A recent phone camera is good enough for web listings. Lighting, a steady tripod and a clean background matter much more than the camera.
How many photos should each product have?
Five is a solid default: hero, angles, detail, scale and in use. Simple products can get by with three, and complex or high-priced products benefit from more.
Should I use a white background?
For the main image, yes: it is clean, consistent and accepted by most marketplaces. Add lifestyle images afterward for mood and context.
Are AI-generated product photos allowed?
Often yes, but marketplaces and consumer law care about accuracy. Never let AI change the product's color, shape or features, and read each platform's rules.
Final Takeaway
Buyers cannot pick your product up, so give them everything they would check in a shop: one clear hero, every angle, a close look, a sense of size and a glimpse of it in real life. Same light, same background, every time. That is a better investment than any gear.