Next.js powers e-commerce for Nike, Target, and thousands of independent stores. But "build a store with Next.js" can mean several very different things: headless Shopify, a self-hosted open-source backend, a managed platform, or raw Stripe API calls. This guide covers all of them, with real code, honest tradeoffs, and a clear recommendation based on what we've seen work.
🔍
Bias disclosure: We build Your Next Store, a commerce platform with an open-source Next.js storefront. We'll recommend it where it fits, tell you where alternatives win, and flag where our experience colors the analysis.
Why Next.js for E-commerce in 2026
Next.js isn't just a React framework. With version 16, it's the default for performance-critical web apps. And e-commerce is the most performance-critical category: every 100ms of load time costs Amazon 1% in sales.
Here's what Next.js 16 gives you that traditional platforms can't match:
| Feature | Why It Matters for E-commerce |
|---|
| React Server Components | Product pages render on the server. Zero JavaScript shipped for static content. |
| Partial Prerendering | Static shells load instantly from the CDN. Dynamic data (price, stock) streams in. |
"use cache" | Cache individual components, not just whole pages. A cart button stays dynamic while product details are cached. |
| Image Optimization | Automatic WebP/AVIF, lazy loading, responsive sizes for product photos. |
| Metadata API | SEO meta tags, Open Graph images, and JSON-LD structured data built in. |
| Server Actions | Secure server-side mutations (add to cart, checkout) without writing API routes. |
The result: a well-built Next.js store can score 95+ on Lighthouse while serving dynamic, personalized content. Monolithic platforms with server-rendered themes and plugin-heavy stacks typically score 50-70 on the same tests. We cover the full technical breakdown in our ecommerce site speed optimization guide.
Choosing Your Commerce Backend
Next.js is a frontend framework. You still need something to manage products, process payments, handle inventory, and track orders. Here are your realistic options in 2026:
| Backend | Type | Best For | Pricing | Self-Host? |
|---|
| Your Next Store | Managed backend + open-source storefront | Fastest launch, AI builder, developer-friendly | $30-360/mo (only Stripe fees) | Storefront only |
| Medusa | Open-source headless commerce | Full backend control, self-hosted | Free (self-host) or Medusa Cloud | Yes |
| Saleor | Open-source headless commerce | Enterprise, multi-channel, GraphQL | Free (self-host) or Saleor Cloud | Yes |
| Shopify (headless) | Hosted commerce + Storefront API | Existing Shopify merchants going custom | $39-399/mo + transaction fees | No |
| Stripe (direct) | Payment processor only | Simple catalogs, maximum control | 2.9% + $0.30 per transaction | N/A |
When to choose what:
- Want to launch this week? YNS gives you a managed backend, open-source storefront, and an AI builder that generates your store from a chat. You can download the code later for full customization.
- Want to own the entire stack? Medusa or Saleor let you self-host everything. You get full control but need to set up infrastructure (database, hosting, deployment) before selling anything.
- Already on Shopify? Use the Storefront API with a Next.js frontend. You keep Shopify's commerce engine and get Next.js performance.
- Selling a handful of products with no variants? Direct Stripe integration might be all you need. No monthly fees, no backend to manage.
For a broader head-to-head of these options alongside Vendure, Payload, WooCommerce, and the enterprise tier, see our ranking of the best ecommerce platform for developers.
Building a Next.js Store: The Minimal Example
Before reaching for any platform, let's see what a bare-bones Next.js + Stripe store looks like. This helps you understand what commerce backends abstract away.
This works. But notice what's missing: no cart, no inventory tracking, no order management, no customer accounts, no search, no categories, no variants, no admin dashboard. That's what a commerce backend gives you. Building all of that from scratch takes months.
Building with a Managed Backend (YNS)
This is the approach we recommend for most teams. You get a full commerce backend (products, carts, orders, inventory, customers, search) managed for you, with an open-source Next.js storefront you can customize.
Set Up Your Project
Clone the Your Next Store open-source template:
Add your API key to .env.local. You get this from the YNS admin dashboard after creating your store:
Start the dev server:
Open localhost:3000. Your store is running with products, cart, checkout, and search, all connected to the managed backend.

Fetch Products with the Commerce Kit SDK
The template connects to the YNS backend via the Commerce Kit SDK. Your YNS_API_KEY authenticates requests to the backend API, which manages your entire product catalog, carts, orders, inventory, and customers in PostgreSQL. Stripe handles payment processing only.
The commerce object is a typed SDK client that talks to the YNS REST API. It handles products, variants, collections, categories, carts, orders, customers, inventory, search, blog posts, and more.
Build Product Pages with Server Components
Here's the actual product page from the YNS template, using React Server Components and "use cache":
Key architectural decisions:
"use cache" + cacheLife("minutes"): The page is cached and served instantly. Product data refreshes every few minutes.- Server Component by default: The entire page renders on the server. Only
AddToCartButton is a Client Component (it needs interactivity).
- Structured data: The template automatically generates JSON-LD for products, giving you rich results in Google.
Add Cart and Checkout
The cart uses Server Actions for mutations. When a user clicks "Add to Cart", a Server Action calls the SDK, which persists the cart in the YNS backend:
The cart updates instantly via optimistic UI. The backend handles cart state, inventory checks, and price calculations. At checkout, customers are redirected to Stripe's hosted checkout page. No PCI compliance headaches. After payment, the backend automatically creates the order record.
Deploy to Production
Connect your GitHub repo to Vercel. Every push to main triggers a production deployment:
Or use the one-click deploy button:

💡
The template ships with SEO defaults out of the box: dynamic sitemaps, JSON-LD structured data for products, Open Graph images, and proper meta tags.
The AI Builder Alternative (No Code)
Not every store needs to start with code. YNS also offers an AI builder: describe your brand, your products, and your aesthetic in a chat. The AI writes real Next.js code, deploys it, and shows you a live preview.
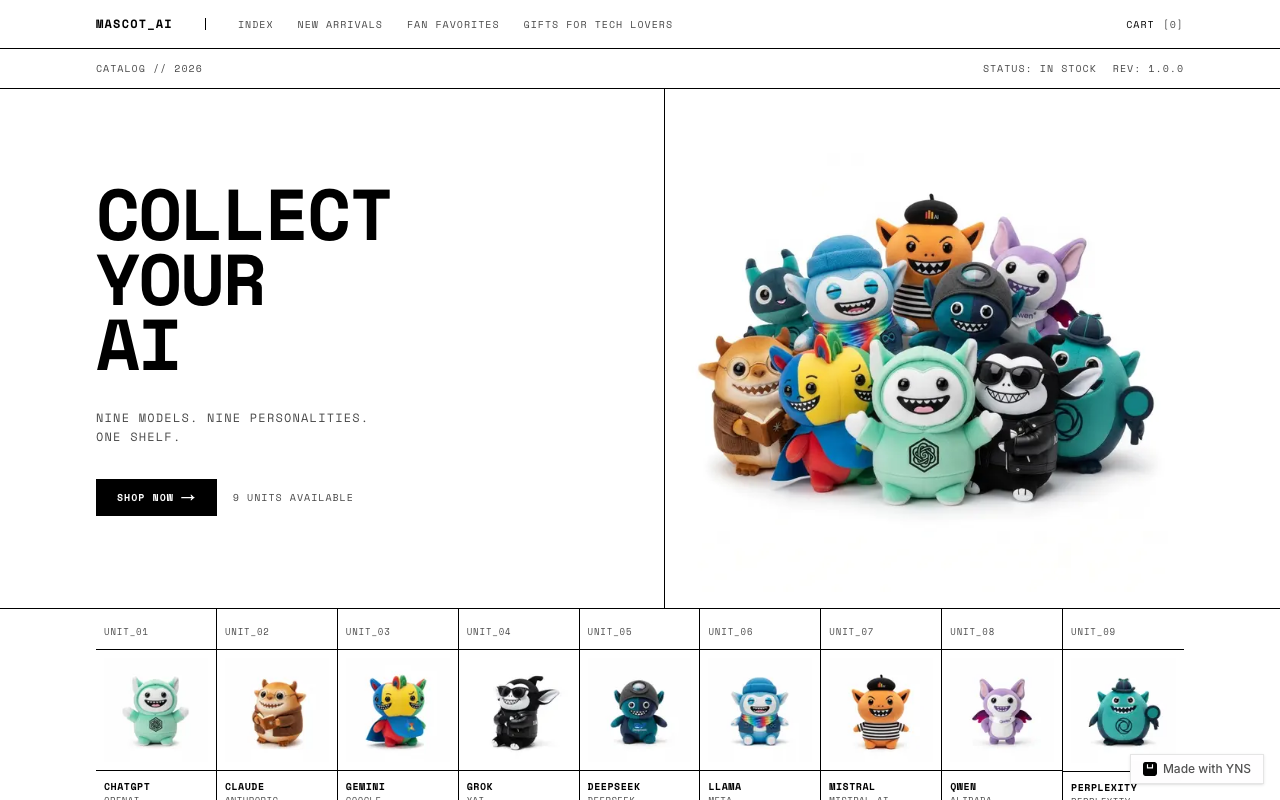
Mascot AI was built this way:
The key insight: you can move between code and AI. Start with the AI builder to launch fast. Download the code when you need deeper customization. Hand it to a developer who modifies the template directly. A non-technical founder can launch with AI, then a developer can take over the codebase later without rebuilding anything. The same Commerce Kit SDK and managed backend powers both paths.
Code-first or AI-first — same stack. Spin up a Next.js 16 storefront with YNS and move between the two as you grow.
Speed is revenue in e-commerce. Here's why Next.js stores consistently outperform traditional platforms:
Partial Prerendering (PPR) is the game-changer. When a customer visits a product page:
- The static shell (navigation, layout, product images) loads instantly from the CDN
- Dynamic content (real-time price, stock status) streams in milliseconds later
- The page is interactive before the dynamic data even arrives
We covered PPR in depth in Partial Pre-Rendering in Next.js 15.
React Server Components mean you ship less JavaScript. Product details, descriptions, and images render on the server and arrive as HTML. The browser only receives JavaScript for interactive elements like the cart button.
The result: the YNS template achieves a 100/100 Real Experience Score with real products and real payment processing. And the backend handles stores with a million products with instant pages.

What Nobody Tells You About Next.js E-commerce
A few things you'll only learn after shipping a real store:
- Plan your product variants upfront. Restructuring variants (size, color, material) after you have orders is painful regardless of which backend you use.
- Image optimization matters more than you think. Product images are the heaviest assets on any store. Use Next.js
<Image> with the sizes prop and serve WebP/AVIF. Unoptimized images will tank your Core Web Vitals.
- Caching strategy is a business decision.
cacheLife("minutes") works for most stores. But if you run flash sales or limited drops, stale prices cause support tickets. Match your cache TTL to how often your inventory changes.
- SEO takes months to compound. Your Next.js store will be faster than competitors on day one. But Google rankings take 3-6 months to build. Start with structured data (JSON-LD), sitemaps, and proper meta tags from launch.
- "Headless" means you build the head. Every headless approach (YNS, Medusa, Saleor, Shopify Storefront API) gives you the backend. You're responsible for the storefront UI. Templates and AI builders reduce that work, but you should budget time for customization.
FAQ
Do I need a database to build a Next.js store?
It depends on your approach. If you use a managed backend like YNS, the backend handles data storage in PostgreSQL. You never touch a database. If you go with Medusa or Saleor, you manage your own PostgreSQL instance. Direct Stripe integration skips the database entirely but limits you to Stripe's product catalog without cart persistence, search, or order management.
How much does it cost to run a Next.js e-commerce site?
The range is wide. At the low end: a direct Stripe integration on Vercel's free tier costs nothing until you make a sale (then 2.9% + $0.30 per transaction). YNS starts at $30/month with no platform transaction fees — you only pay Stripe's standard processing fees. Self-hosted Medusa is free but you pay for hosting ($20-100/month for a VPS). Shopify headless is $39-399/month plus Shopify's transaction fees unless you use Shopify Payments. The right choice depends on how much infrastructure you want to manage yourself.
Can I migrate from Shopify to Next.js?
Yes. Most commerce backends can import Shopify product data via CSV. The main work is building your storefront components, which is an upgrade: you get full control over every pixel, plus the performance benefits of Server Components and PPR. If you're already on Shopify, you can also go headless gradually by using the Storefront API with a Next.js frontend while keeping Shopify as the backend.
Which commerce backend should I use with Next.js?
For most teams launching a new store, a managed backend like YNS gets you to revenue fastest. For teams that need to own the entire infrastructure, Medusa or Saleor are strong self-hosted options. For existing Shopify merchants wanting better performance, headless Shopify makes sense. See the comparison table above.
The best e-commerce stores in 2026 won't be the ones with the most features. They'll be the ones that load before the customer can blink. Next.js gives you that speed. What you build with it, and which backend you pair it with, is up to you.
Related Blog Posts