Stripe can process a payment in six lines of code. But "selling online with Stripe" means five very different things depending on who you ask: a Payment Link you text to a customer, a checkout button on a landing page, a full storefront with carts and inventory, or an entire e-commerce platform. This guide walks through every option, from simplest to most powerful, so you can pick the one that matches where you are right now and know exactly when to graduate to the next.
🔍
Bias disclosure: I run Your Next Store, which uses Stripe for payment processing. I'll recommend it where it fits and tell you where simpler options win. If I get something wrong, open an issue on GitHub.
What Stripe Actually Is (And What It Isn't)
Stripe is a payment processor. It handles the hard part: charging credit cards, managing subscriptions, sending receipts, dealing with fraud, and depositing money into your bank account. It does this extremely well across 46+ countries and 135+ currencies. That portability is the key advantage over platform-locked processors like Wix Payments or Squarespace's built-in system: your Stripe account works everywhere, not just on one platform.
What Stripe is not: a store. It doesn't host product pages. It doesn't manage inventory. It doesn't handle shipping, calculate taxes across jurisdictions, or give you a storefront customers can browse. Those are your problems to solve, and how you solve them defines which tier of "selling with Stripe" you're in.
Here's the spectrum:

Let's walk through each one.
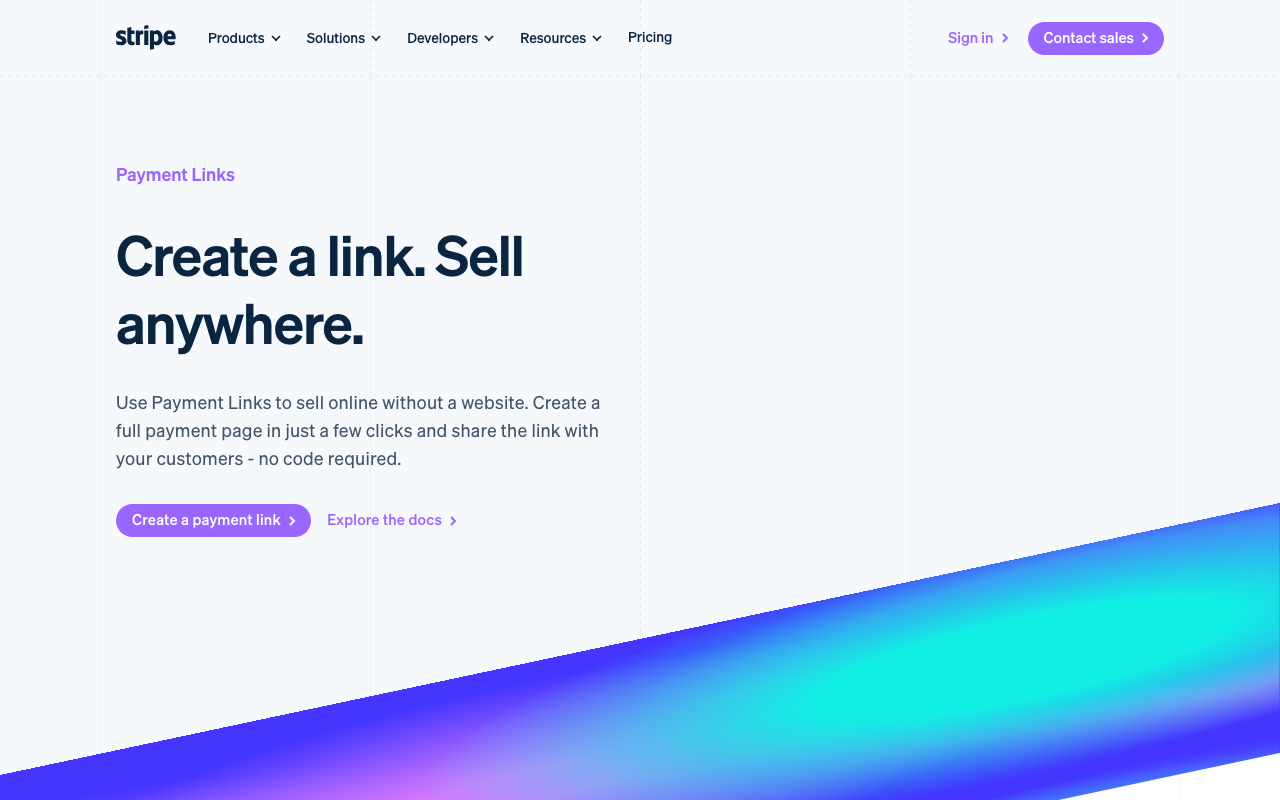
Level 1: Stripe Payment Links (No Code, No Website)
Payment Links are URLs that open a Stripe-hosted checkout page. You create them in the Stripe Dashboard without writing any code.
How it works:
- Log into your Stripe Dashboard
- Go to Payment Links in the sidebar
- Click New and add your product name, price, and an image
- Copy the link and share it anywhere: email, Instagram bio, text message, QR code
That's it. The customer clicks the link, sees a professional checkout page, pays, and gets a receipt. Stripe handles everything.
What you get:
- Hosted checkout page (no website needed)
- Card, Apple Pay, Google Pay support
- Automatic receipts
- Basic quantity selection
- Discount codes (via Stripe Coupons)
- Tax collection (via Stripe Tax, additional 0.5% per transaction)
What you don't get:
- Product browsing (each link = one product)
- Shopping cart (customers buy one product at a time)
- Inventory tracking
- Order management beyond Stripe's payment list
- A storefront or brand presence
When to use it: You're a freelancer selling a course, a creator selling merch (if that's the stage you're at, see our playbook for starting a clothing brand), or a small business testing a product idea. You want to go from zero to "accepting money" in under ten minutes.
When to move on: You have more than five products, customers want to buy multiple items at once, or you need a branded shopping experience.
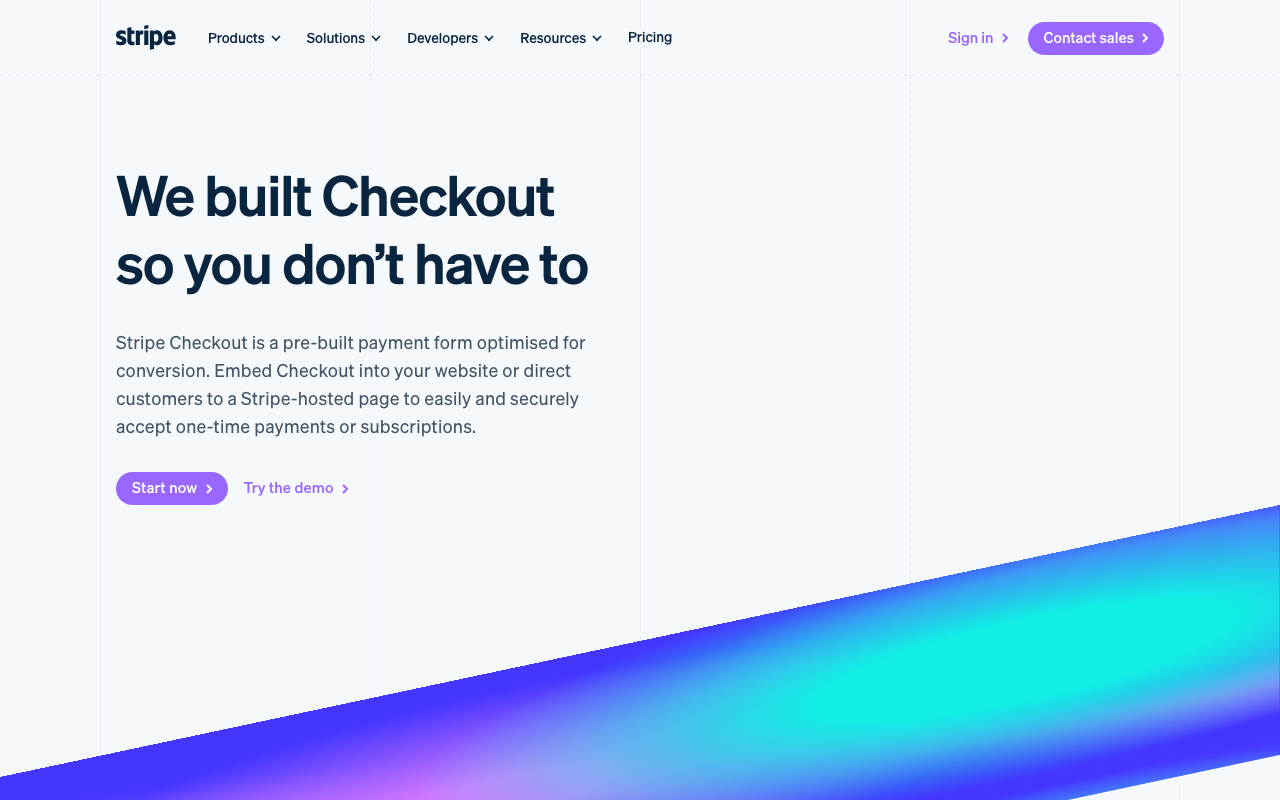
Level 2: Stripe Checkout (Hosted Page with Code)
Stripe Checkout is a pre-built payment page that you redirect customers to from your own website. Unlike Payment Links, you create Checkout Sessions via the API, which gives you control over what the customer sees and how they get there.
How it works:
You create a Checkout Session on your server and redirect the customer to it:
The customer lands on a Stripe-hosted page with your logo, the product details, and a payment form. After paying, they're sent back to your success_url.
What you get (beyond Payment Links):
- Programmatic session creation (dynamic pricing, custom line items)
- Pre-filled customer data
- Multiple line items in one session
- Metadata for your own tracking
- Webhooks for order fulfillment
- Subscription billing support
What you still don't get:
- Product catalog management (you define products in the Stripe Dashboard or via API)
- Shopping cart (you build the cart logic yourself)
- Inventory management
- Order history for customers
- Storefront UI
Real cost: Stripe charges 2.9% + $0.30 per successful transaction in the US (rates vary by country and card type). International cards add 1.5%. No monthly fees.
When to use it: You have a website or landing page and want to sell a specific product or service. Digital products, event tickets, one-time purchases, and subscriptions all work well.
When to move on: Customers need to browse products, add multiple items to a cart, or you're managing inventory across channels.
Level 3: Embedded Checkout (Your Brand, Stripe's Infrastructure)
Starting in 2023, Stripe introduced Embedded Checkout: the same Checkout infrastructure, rendered inside your own page instead of a redirect.
The checkout form renders inline on your page. No redirect, no pop-up. Customers stay on your domain the entire time.
Advantage over hosted Checkout: Brand consistency. The checkout lives on your site, inside your layout. Conversion rates tend to be higher when customers don't leave the page.
Disadvantage: More code to write and maintain. You need a React (or JS) frontend and a server endpoint.
When to use it: You have a custom website and want to keep customers on your domain during checkout. SaaS products, membership sites, and digital storefronts benefit the most.
Here's where most guides stop. They show you how to create a Checkout Session and call it done. But a real online store needs more than a payment form:
- Product catalog with descriptions, images, variants (size, color), and categories
- Shopping cart that persists across sessions
- Inventory tracking so you don't oversell
- Order management with fulfillment status, tracking numbers, and refunds
- Customer accounts with order history
- Shipping calculations and label generation
- Tax computation across jurisdictions
- Search and filtering across hundreds or thousands of products
- SEO with structured data, sitemaps, and meta tags
You can build all of this yourself on top of the Stripe API. Or you can use a platform that's already built it for you.
The "Build It Yourself" Trap
I've seen developers spend three to six months building a custom Stripe-based store. They start with Checkout Sessions, then add a products table, then a cart, then order tracking, then realize they need a refund flow, then shipping, then tax, then an admin panel to manage it all.
The Stripe API is excellent. But it's a payment API, not an e-commerce API. You'll need to build everything above the payment layer: the database, the admin UI, the storefront, the order pipeline. For a solo founder or small team, that's months of work before you sell anything.
Instead of building from scratch, you can use a commerce platform that handles the store logic and uses Stripe under the hood for payments:
| Platform | Type | Stripe Integration | Starting Price |
|---|
| Your Next Store | Managed backend + open-source storefront | Native (Stripe Checkout) | $30/mo, 0% tx fees |
| Shopify | All-in-one hosted | Shopify Payments (Stripe-powered) | $39/mo + 2.9% |
| Medusa | Open-source headless | Plugin | Free (self-host) |
| Saleor | Open-source headless | Plugin | Free (self-host) |
| Squarespace | Website builder | Stripe Connect | $33/mo |
The key difference between these options is how close to Stripe you stay. Some wrap Stripe behind their own payment layer (Shopify, Squarespace). Others let you connect your own Stripe account directly, so you see every transaction in your Stripe Dashboard and keep the direct relationship with Stripe.
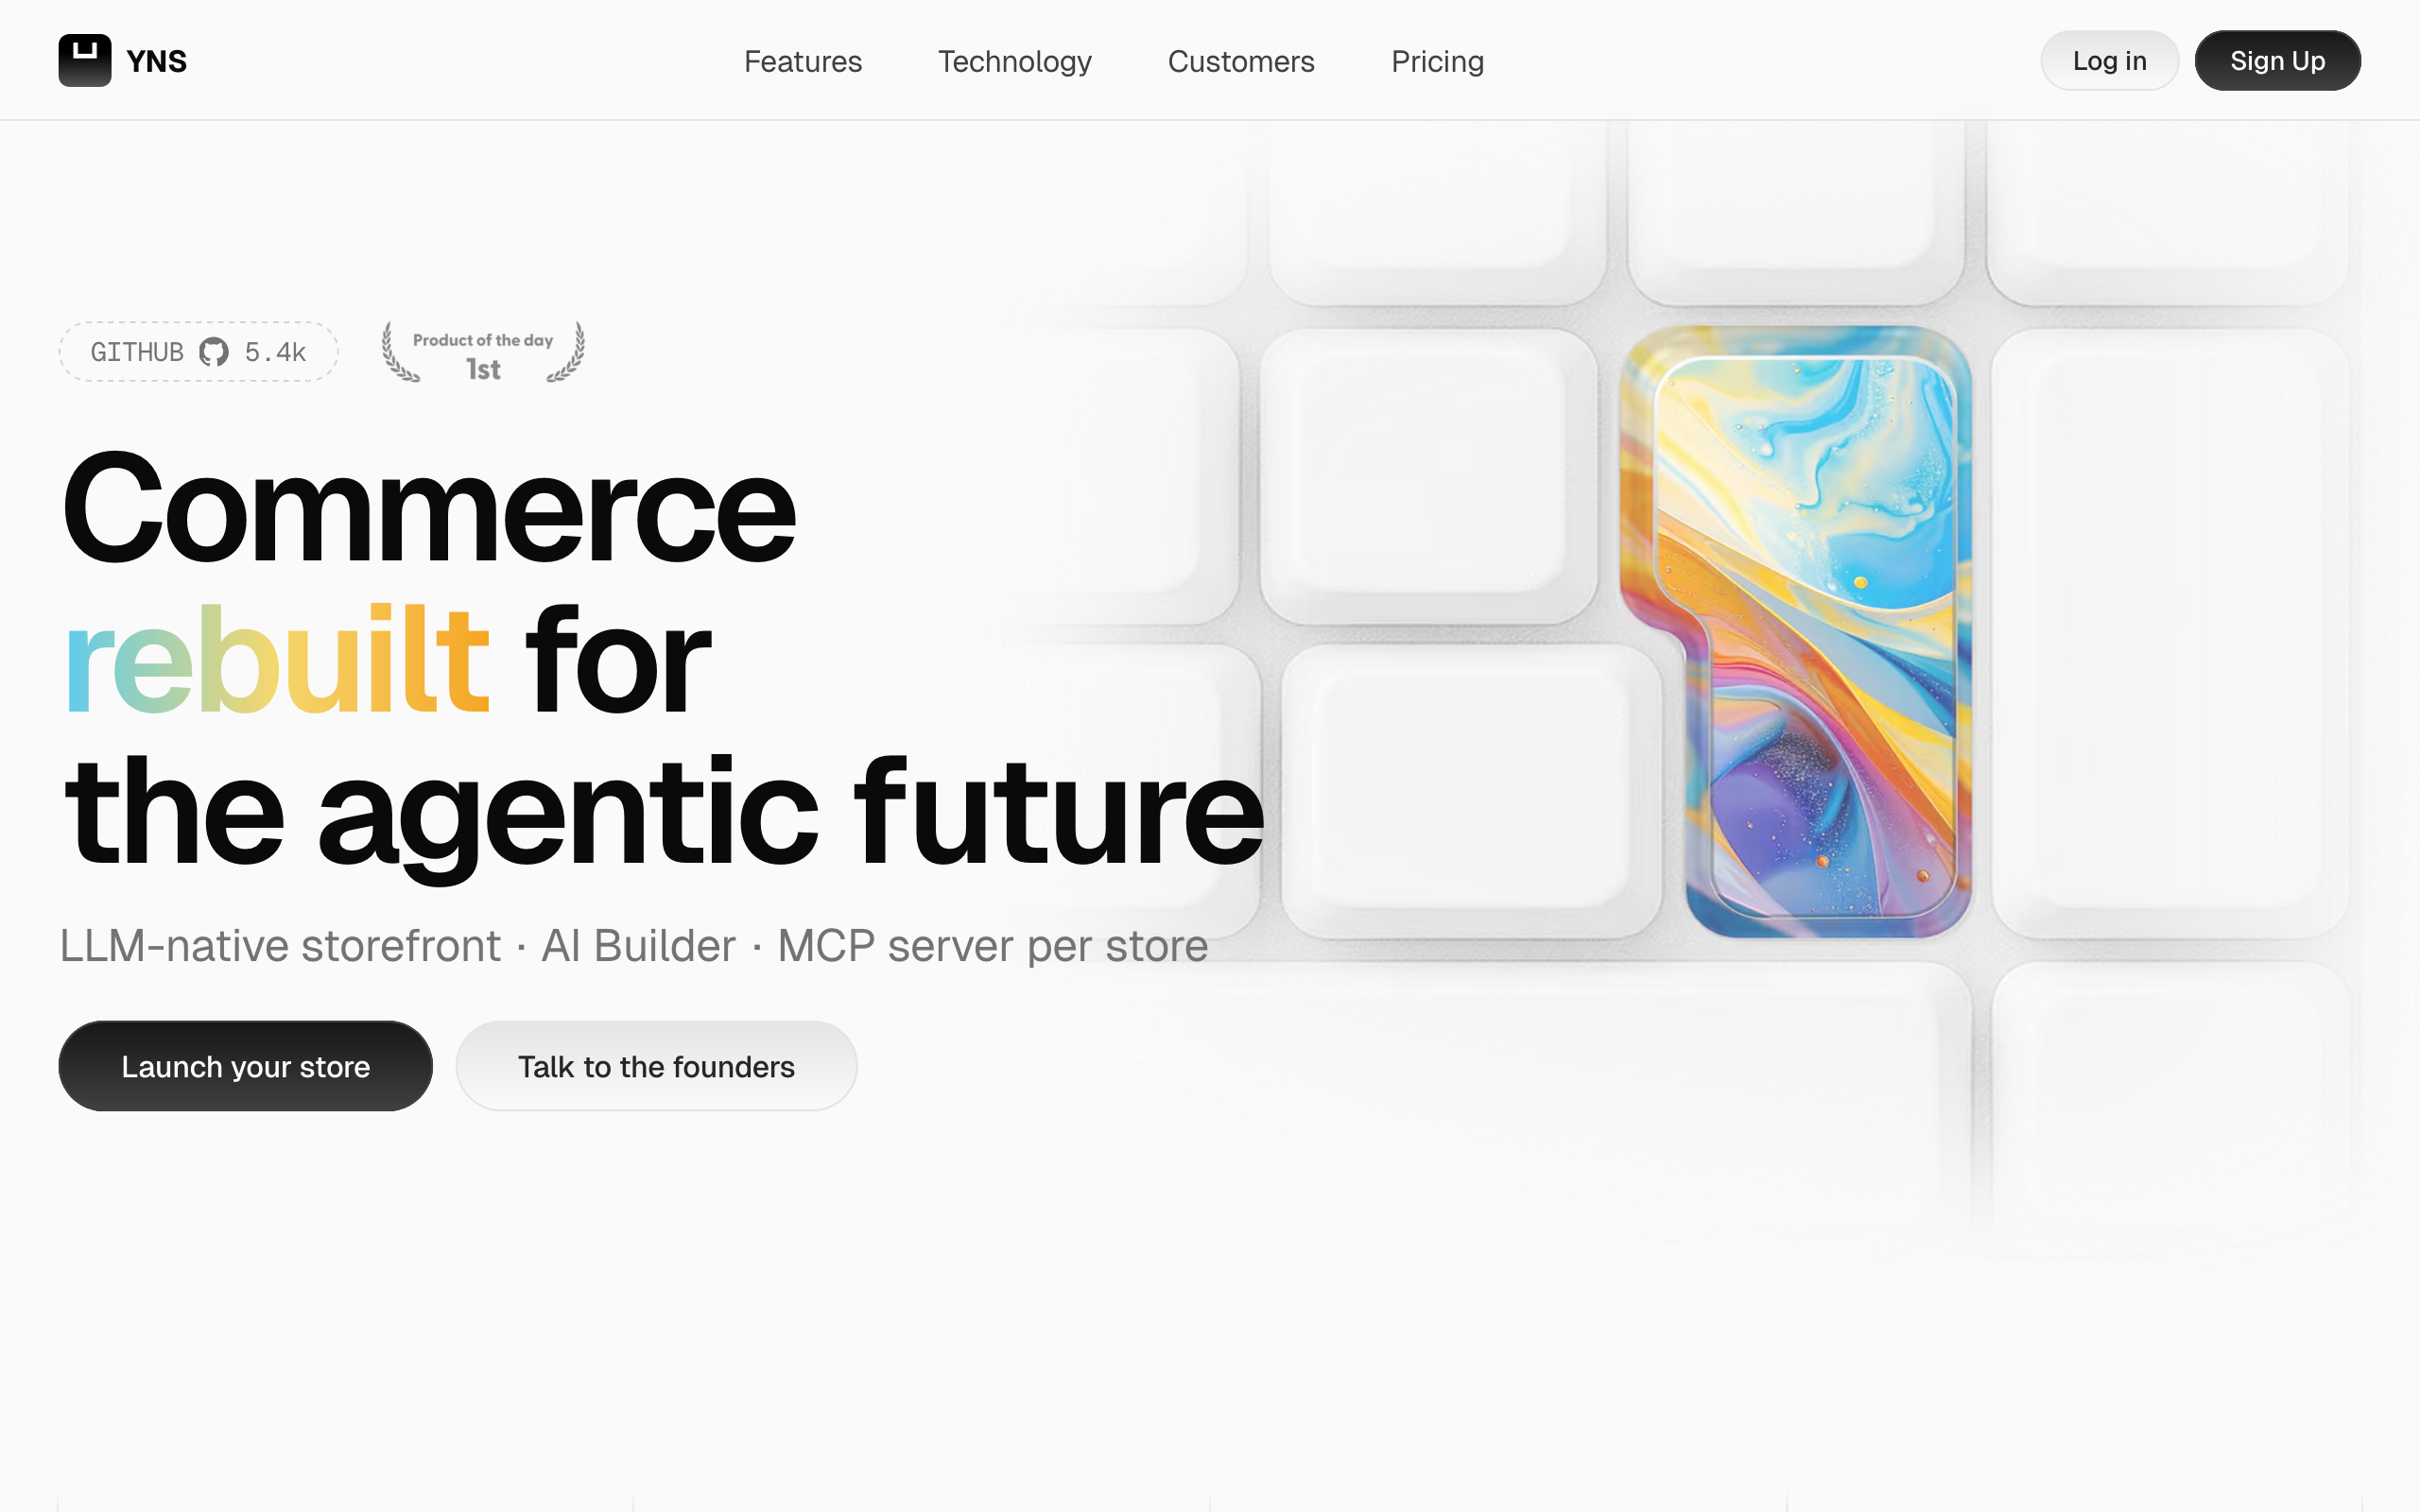
Your Next Store: Stripe-Native by Design
Your Next Store is built specifically for people who want to sell with Stripe without building everything from scratch. Here's how it works:
-
You connect your Stripe account during setup. YNS doesn't create a separate payment layer: your customers pay directly through Stripe Checkout, and money lands in your Stripe account.
-
YNS handles everything else: product catalog, shopping cart, inventory, orders, refunds, customer accounts, shipping (via Shippo), tax, search, SEO, and a full admin dashboard. All stored in a managed PostgreSQL database.
-
Your storefront is an open-source Next.js template that you deploy on Vercel (or anywhere). It connects to the YNS backend via an SDK. You own the code and can customize every pixel.
-
An AI-powered store builder lets you describe what you want in plain English and generates a custom storefront. No templates to browse, no drag-and-drop limitations.

The result: you get a full-featured store that's Stripe-native, developer-friendly, and fast (sub-second page loads thanks to React Server Components and Partial Prerendering).
Pricing: Plans start at $30/month with 0% transaction fees on every plan. Only Stripe's standard processing fees apply. See a live store at demo.yournextstore.com.
Sell on Stripe without building the store. YNS wraps Stripe with catalog, cart, inventory, admin — you keep 100% of the payment flow.
Level 5: Custom Build with the Stripe API
Sometimes none of the platforms fit. You're building a marketplace, a booking system, a SaaS with usage-based billing, or something that doesn't map to a traditional product catalog. That's when you go directly to the Stripe API.
What you'll use:
- Stripe Connect for marketplace payouts (splitting payments between sellers)
- Stripe Billing for subscriptions and usage-based pricing
- Stripe Elements for fully custom payment forms
- Stripe Invoicing for B2B billing
- Stripe Tax for automated tax calculation
- Stripe Radar for fraud prevention
The Stripe API is phenomenal. The documentation is the gold standard in the industry. The SDKs cover every major language. The webhooks are reliable. The test mode mirrors production exactly.
The tradeoff: You're building everything yourself. Authentication, database, admin panel, customer portal, email notifications, error handling, refund flows, reporting. The Stripe API handles payments; you handle the rest.
When to use it: Your business model doesn't fit into a standard e-commerce product catalog. You need Connect for multi-party payments, custom billing logic, or deep integration with your own backend.
When NOT to use it: You're selling physical or digital products with a standard browse-add-to-cart-checkout flow. A platform will get you to market faster and cheaper.
How to Choose: A Decision Tree
Not sure which level fits? Walk through these questions:
-
Are you selling fewer than 5 products with no variants?
Yes → Payment Links. You'll be live in five minutes.
-
Do you have a website but just need a checkout flow?
Yes → Stripe Checkout (hosted or embedded). Add a "Buy" button and let Stripe handle the rest.
-
Do you need a real store with a product catalog, cart, and inventory?
Yes → Full commerce platform. Don't build it yourself unless you have a team and six months.
-
Is your business model non-standard (marketplace, SaaS, booking)?
Yes → Custom build with Stripe API. You need the flexibility.
-
Do you want to own your storefront code and stay close to Stripe?
Yes → Your Next Store. Open-source Next.js storefront, Stripe-native, managed backend.
What Stripe Costs in 2026
Stripe's pricing is straightforward compared to most payment processors:
| Fee Type | Rate (US) |
|---|
| Online card payments | 2.9% + $0.30 |
| In-person (Terminal) | 2.6% + $0.10 |
| International cards | +1.5% |
| Currency conversion | +1% |
| ACH Direct Debit | 0.8% (capped at $5) |
| Stripe Tax | +0.5% per transaction |
| Disputes/chargebacks | $15 per dispute |
No monthly fees. No setup fees. No minimum transaction volume. You pay only when you process payments.
Compare this to Shopify, which charges a monthly subscription plus payment processing fees plus a third-party gateway penalty if you don't use Shopify Payments. For a detailed breakdown, see our Shopify Transaction Fees analysis.
Common Mistakes When Selling with Stripe
1. Building a full store from scratch
The most common mistake. Developers love building things, but building an e-commerce backend is a six-month project that's been solved many times over. Use a platform for the commerce layer and spend your time on what makes your store unique.
2. Ignoring webhooks
Stripe sends webhooks for every event: successful payments, failed charges, disputes, subscription renewals. If you're not listening to them, you'll miss failed payments, double-fulfill orders, or leave customers in limbo after network errors.
Always verify webhook signatures. Always make your handlers idempotent.
3. Not enabling Stripe Tax
Tax compliance is complex, especially if you sell across US states or internationally. Stripe Tax automatically calculates and collects the right amount based on the customer's location. At 0.5% per transaction, it's far cheaper than the accounting fees you'll pay when you get it wrong.
4. Using test mode API keys in production
It happens more than you'd think. Double-check your environment variables before launch. Stripe's test and live modes use different key prefixes (sk_test_ vs sk_live_), so this should be easy to catch, but CI/CD pipelines sometimes pull the wrong secret.
5. Skipping fraud prevention
Stripe Radar is included for free in standard pricing. Enable it. Set up rules for high-risk transactions. Review flagged payments. A $500 chargeback hurts far more than the time spent configuring fraud rules.
The Bottom Line
Stripe is the best payment infrastructure in the world. But infrastructure is not a store. The gap between "I can charge a credit card" and "I have an online business" is where most people get stuck. If you're earlier in that journey than this guide assumes, we wrote the full playbook for starting an online store that puts payments in context alongside product, platform, and launch. Pick the level that matches where you are today, not where you hope to be in two years. You can always graduate to the next one.
FAQ
Can I sell online with Stripe without a website?
Yes. Stripe Payment Links let you create a checkout page without any website or code. You share a URL and customers can pay directly. For more than a handful of products, you'll want a website or storefront eventually, but Payment Links are a legitimate starting point.
Is Stripe cheaper than Shopify for e-commerce?
For payment processing alone, Stripe and Shopify Payments (which runs on Stripe) charge similar rates: around 2.9% + $0.30. But Shopify adds a monthly subscription ($39-$399/month) and charges an extra 0.5-2% fee if you use a third-party payment provider instead of Shopify Payments. If you use a Stripe-native platform like Your Next Store, you can avoid those extra layers. See our full cost comparison.
Do I need a business account to use Stripe?
No. Stripe accepts sole proprietors, individuals (in most countries), LLCs, and corporations. You'll need to provide your tax ID and banking information during onboarding, but you don't need a formal business entity to start.
Related Blog Posts